
McCall’s Magazine for June 1909 shows a pattern for a Guimpe, also called an Underwaist or a Lining – or a Slip! To modern people this might be confusing; I know it was for me, at first. But as I have been making my own Edwardian wardrobe, I have begun to see the need for a pretty, fitted garment to wear under square-necked dresses and tailored jackets.
Here is the description from the magazine:
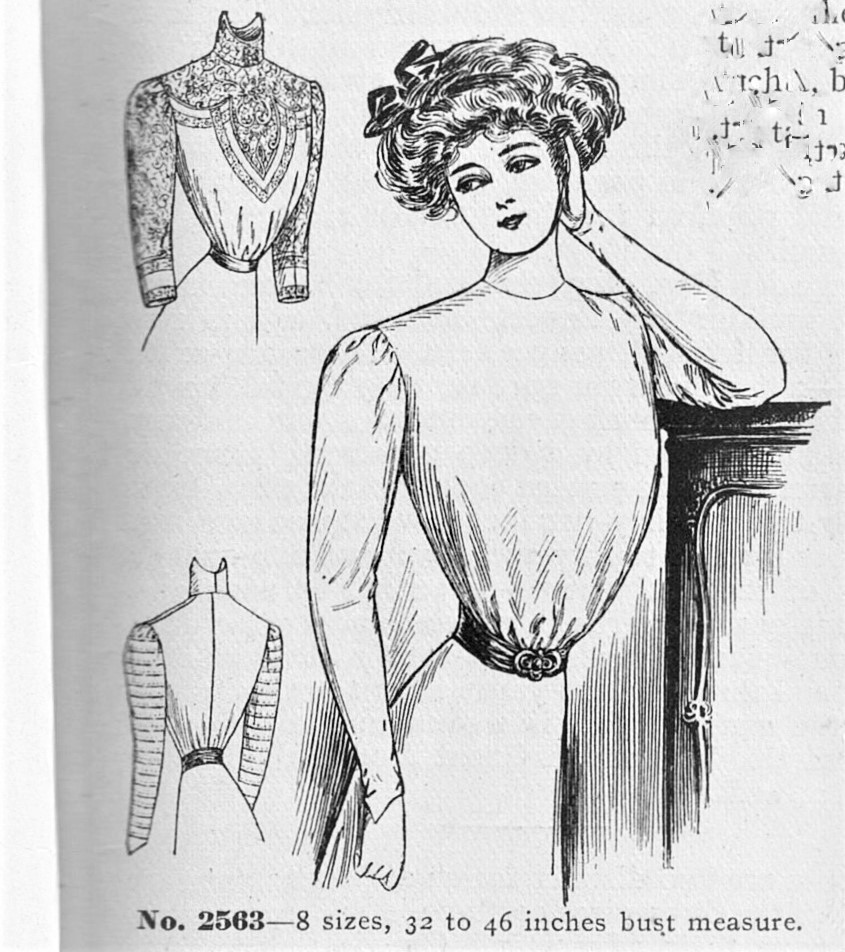
No. 2563 (15 cents). – Sleeveless waists and gowns, and those having all sorts of open necks, besides the skirts with “skeleton” waists, all of which are en regle at present, demand a guimpe or under waist of some kind. This slip has been designed especially to meet this need. It may be made of lining or silk, and faced at the neck in any desired outline with net, lace, chiffon or embroidery, which is to show through the open neck of the outside waist. Again, it may be used as the foundation for any individual style of shirt waist, the tucks being stitched in the materials before cutting by the pattern. Two styles of sleeves are given – the pretty tucked style, which is popular, and a plain leg-o’-mutton sleeve, which may be trimmed in any original way one’s fancy may dictate. It may also be used as a slip – of daintily colored lawn or China silk – to be worn under a thin lingerie waist to impart warmth. …
How I Made my Own Guimpe
I didn’t have an Guimpe or Lining pattern on hand (I have the feeling that McCall’s 2563 from 1909 is no longer available!) But I did have one of Past Pattern’s Attic Copies version of McCall’s 3139, which was published in 1910. I have used it before, so I knew that I could make it work for my new Guimpe – or Underwaist. I knew that I would piece the body together from both cotton lawn and tucked net. I wanted to embroider the yoke in a coordinating design. I have seen this type of decoration in period catalogs and antique pieces, and I hoped to replicate it. So, along with the pattern, I assembled my materials.
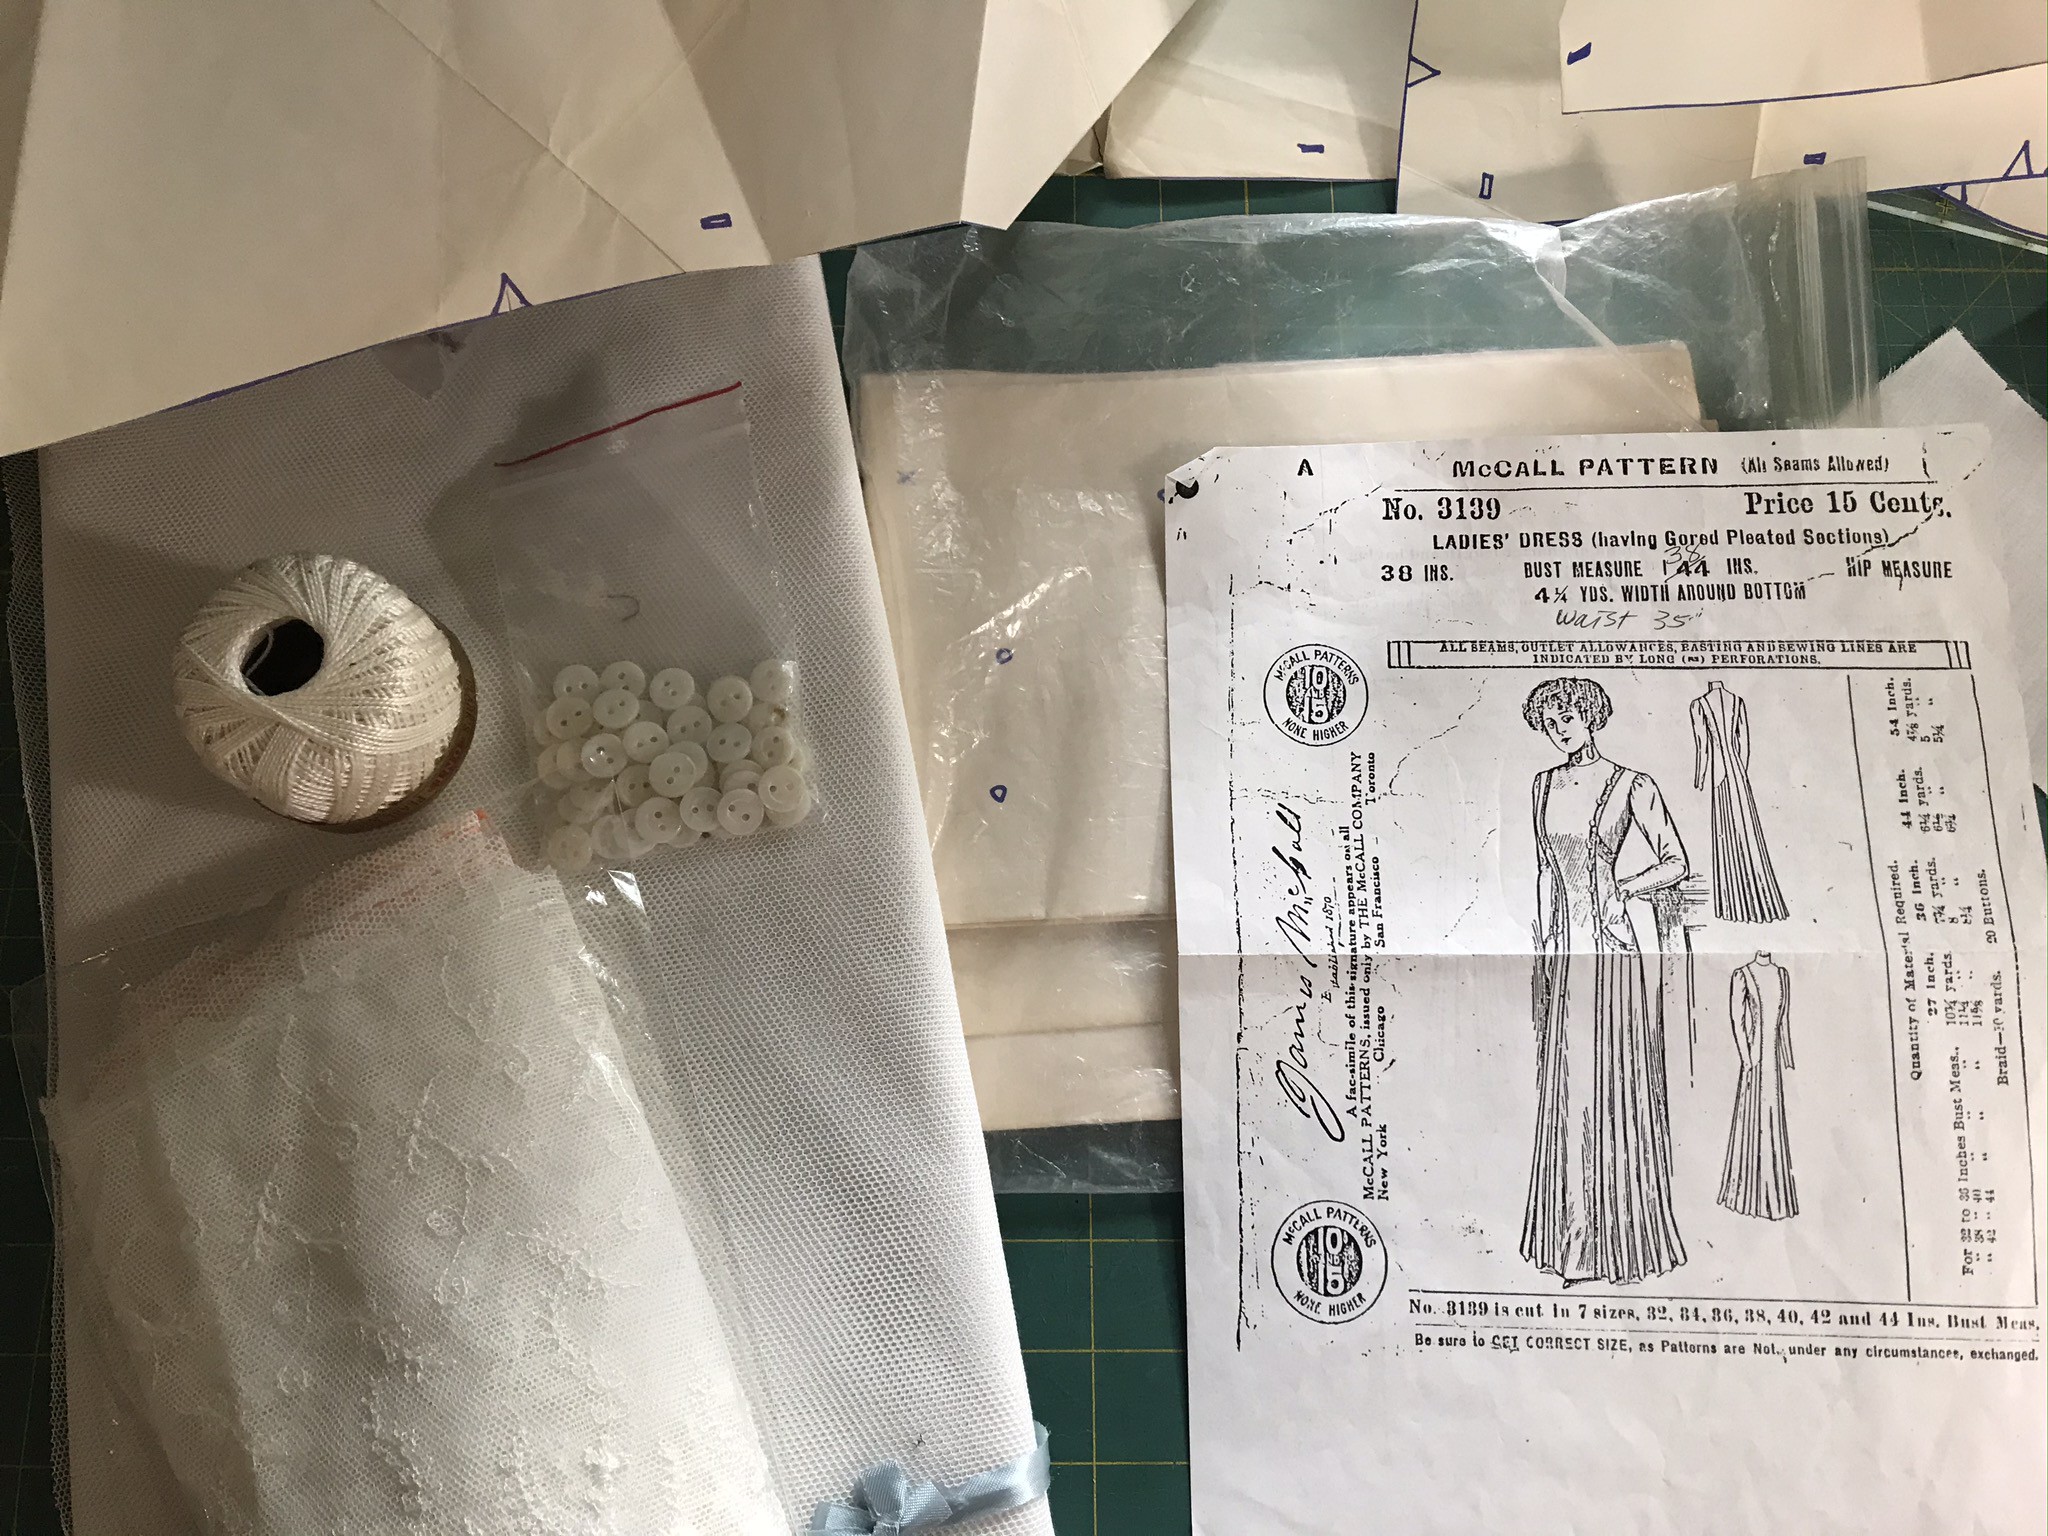
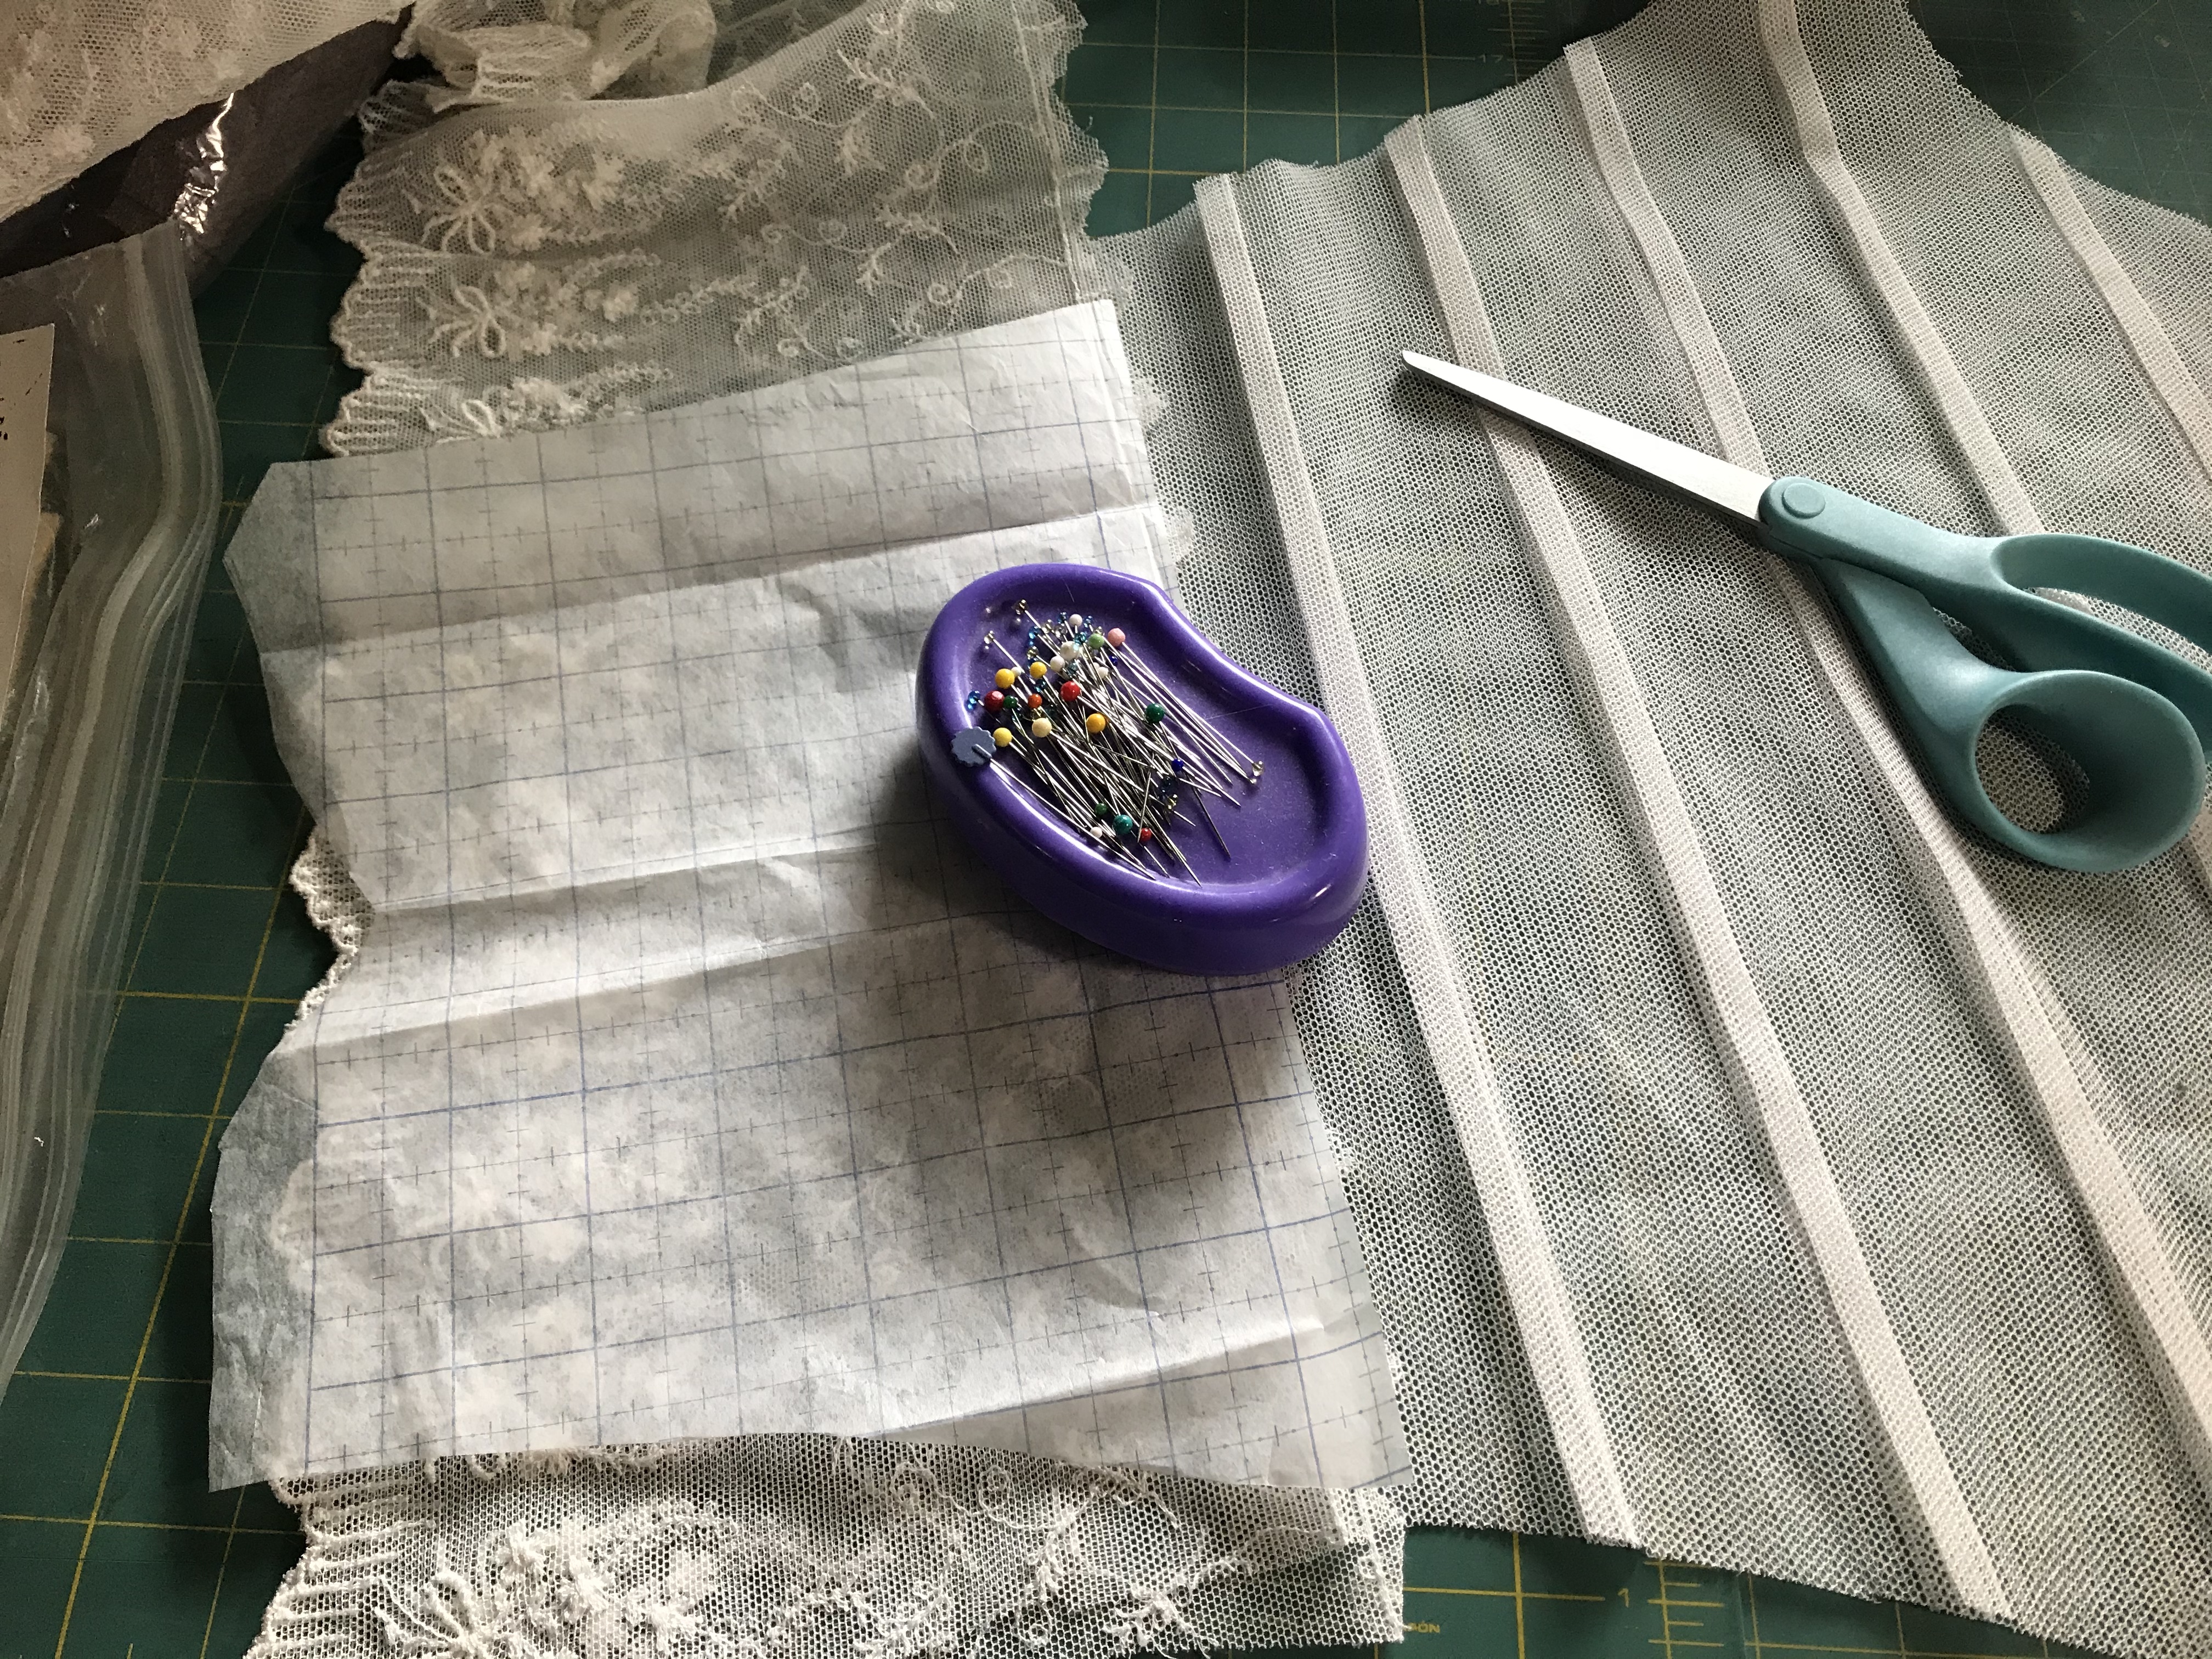
I assembled my cotton lining fabric, the sheer netting, embroidery thread, buttons, and some beautiful reproduction lace, all in the same shade of off white. The net I used is imported English cotton net. Some years ago, I invested a substantial sum to buy bolts this beautiful material in both white and off-white, and I continue to enjoy using it on replica projects large and small.
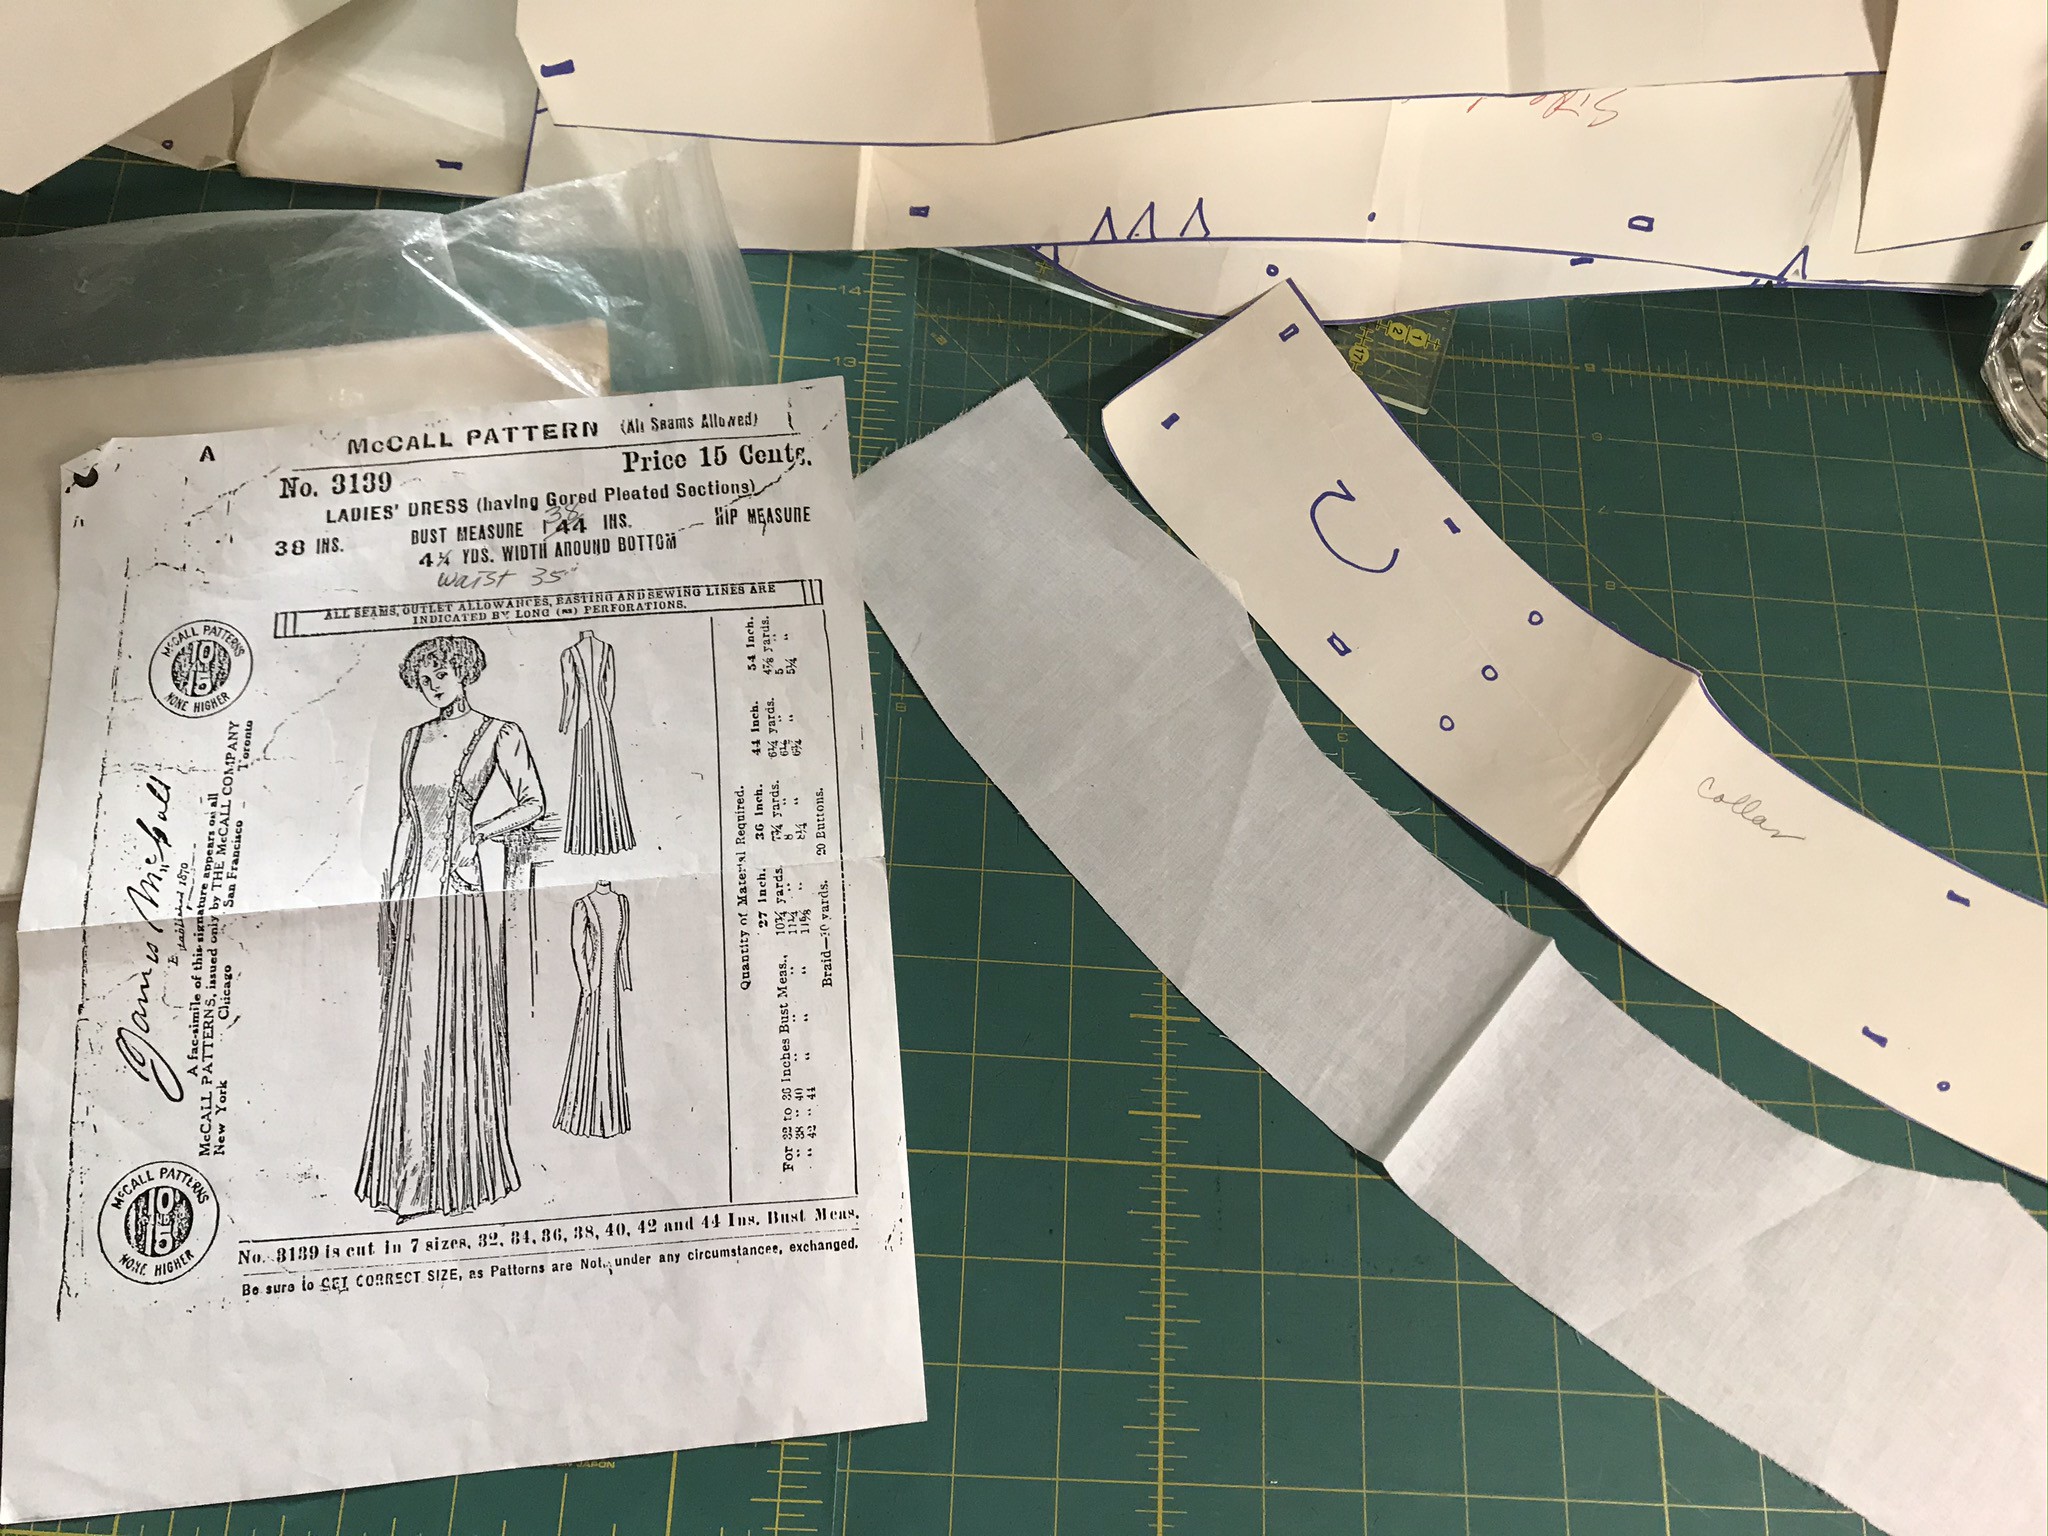
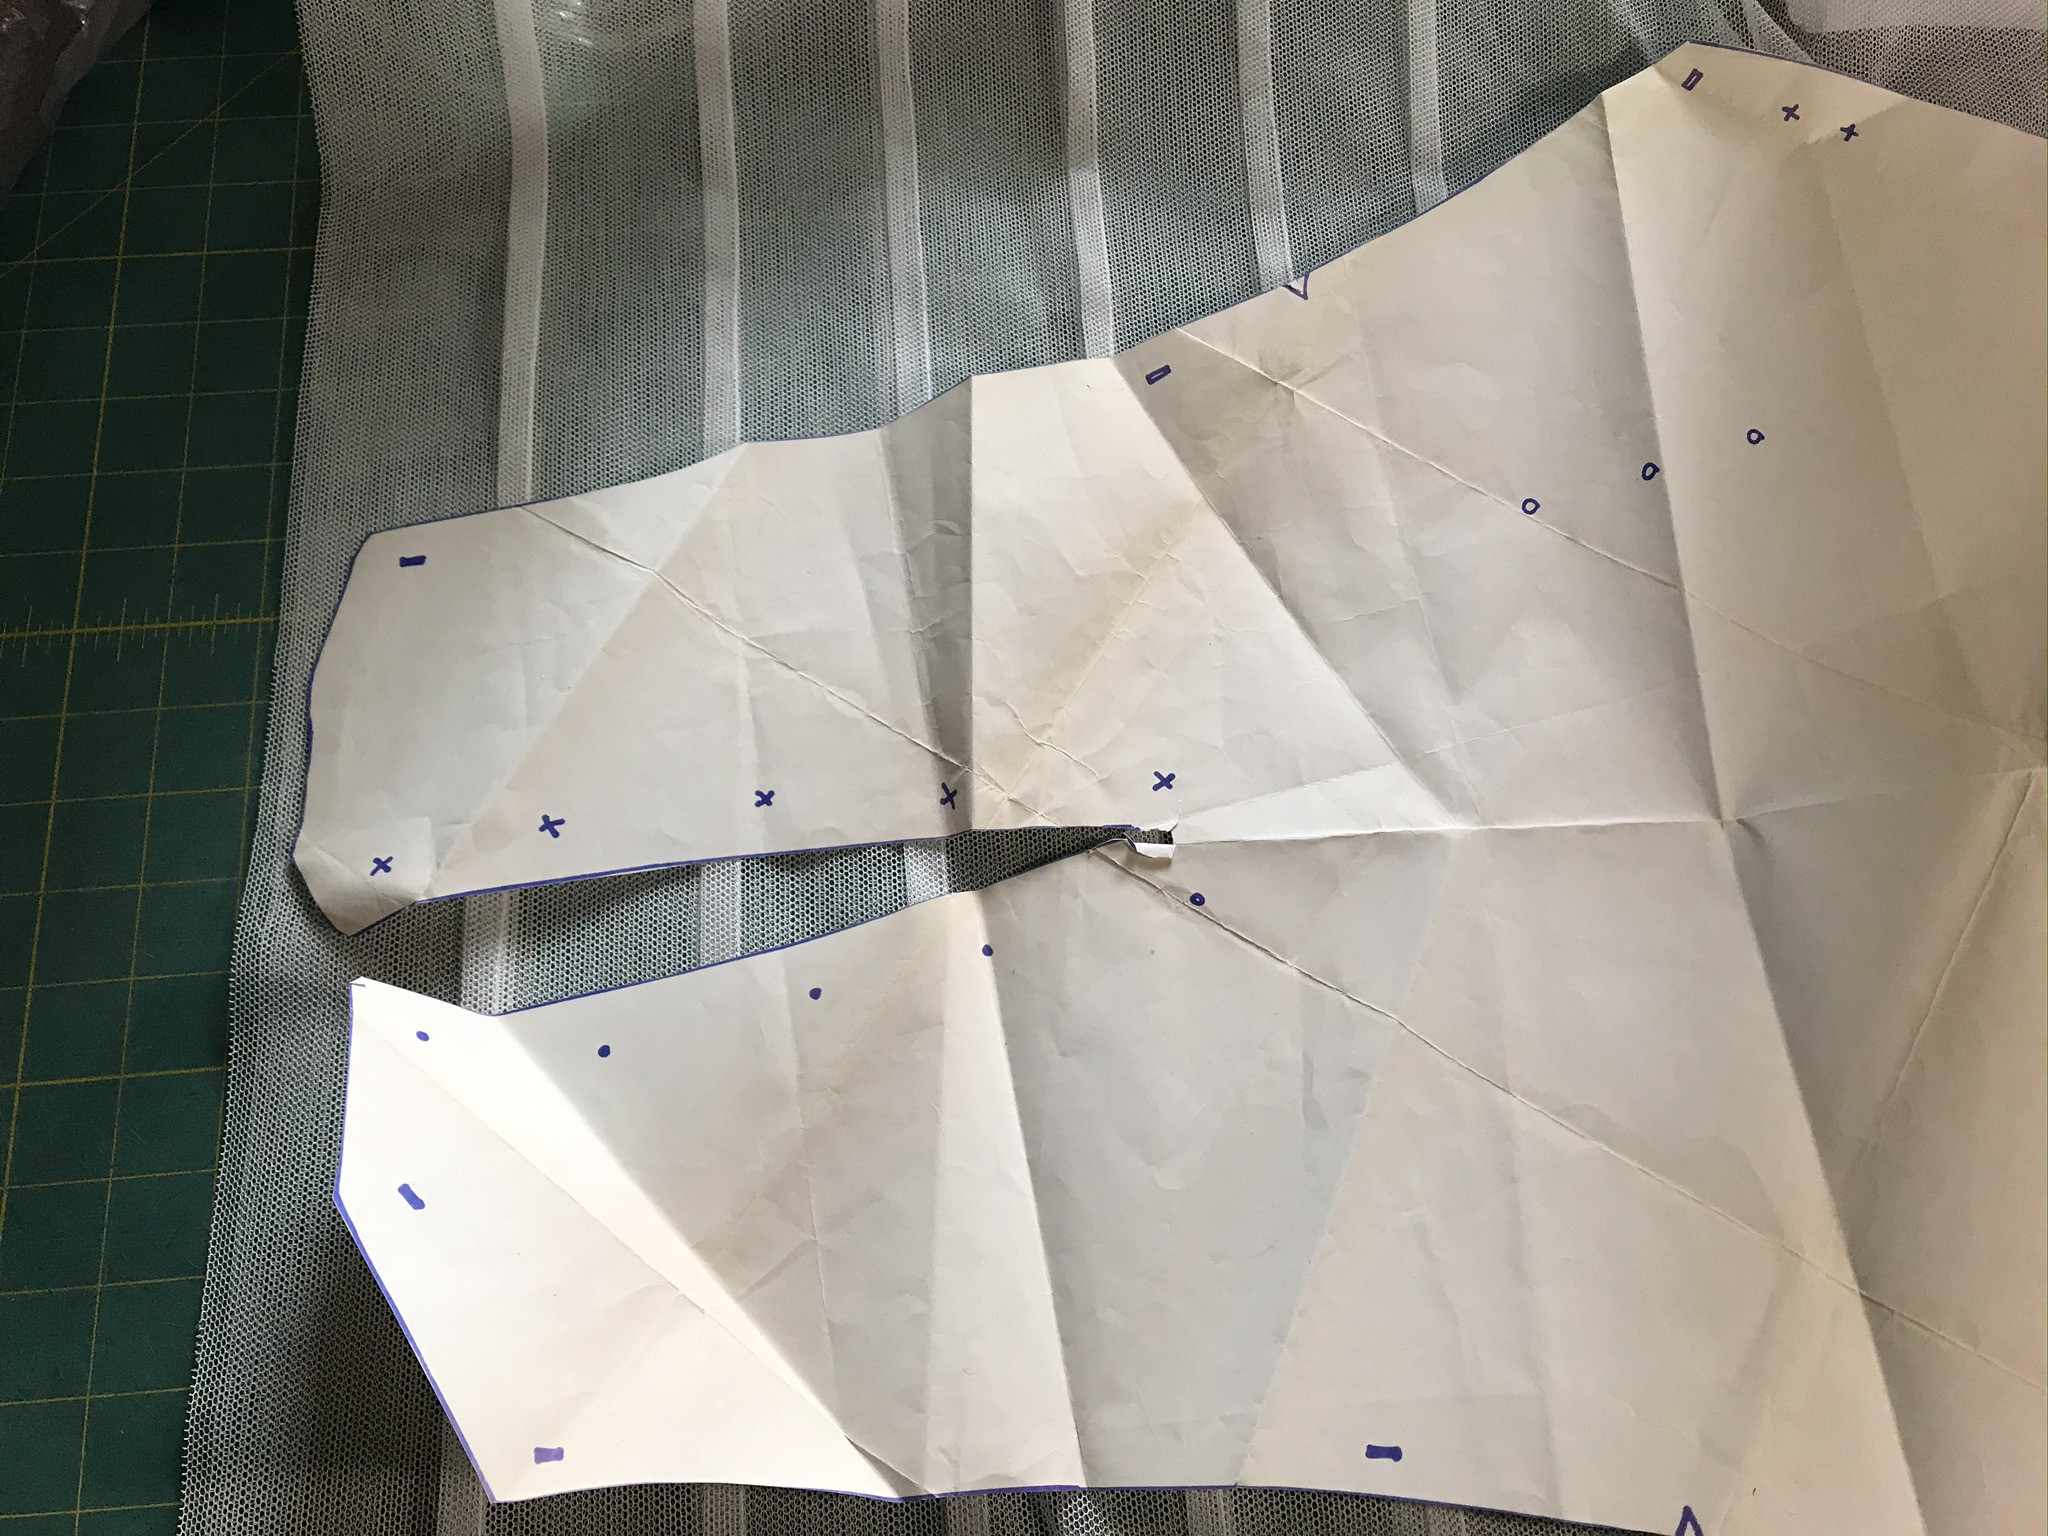
I used the Attic Copies pattern to cut out my new Under Waist, including the collar. I planned to make the entire collar of the sheer net and lace, but I wanted to have a fabric version for fitting. I double checked measurements and fit before cutting in to that valuable tucked net!
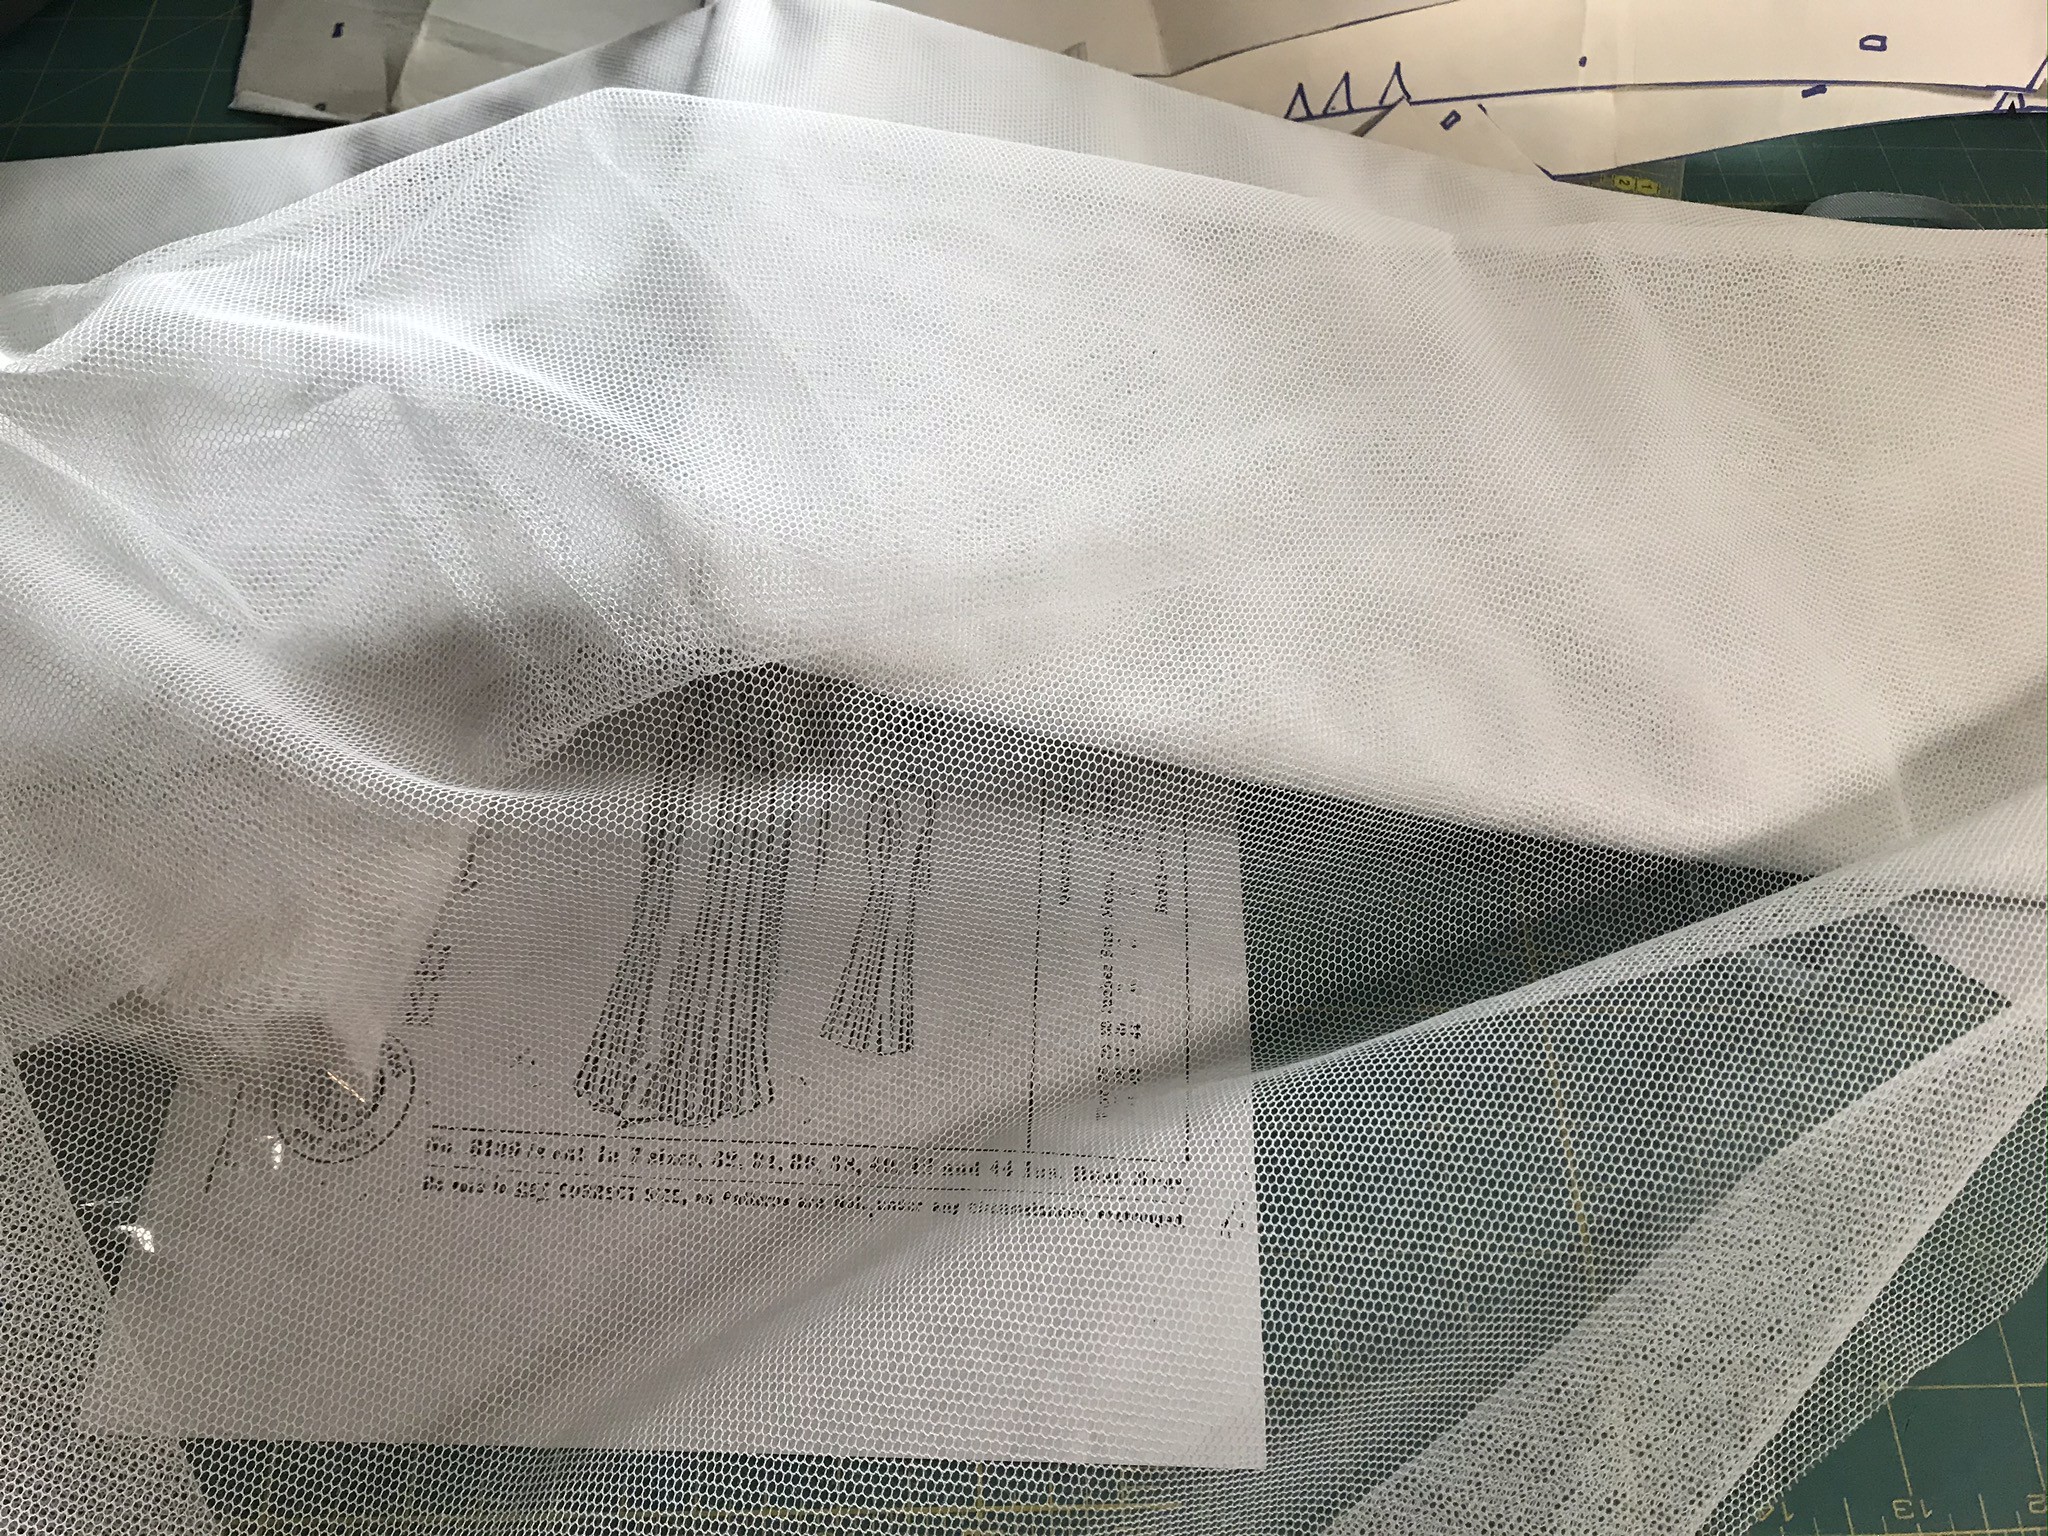
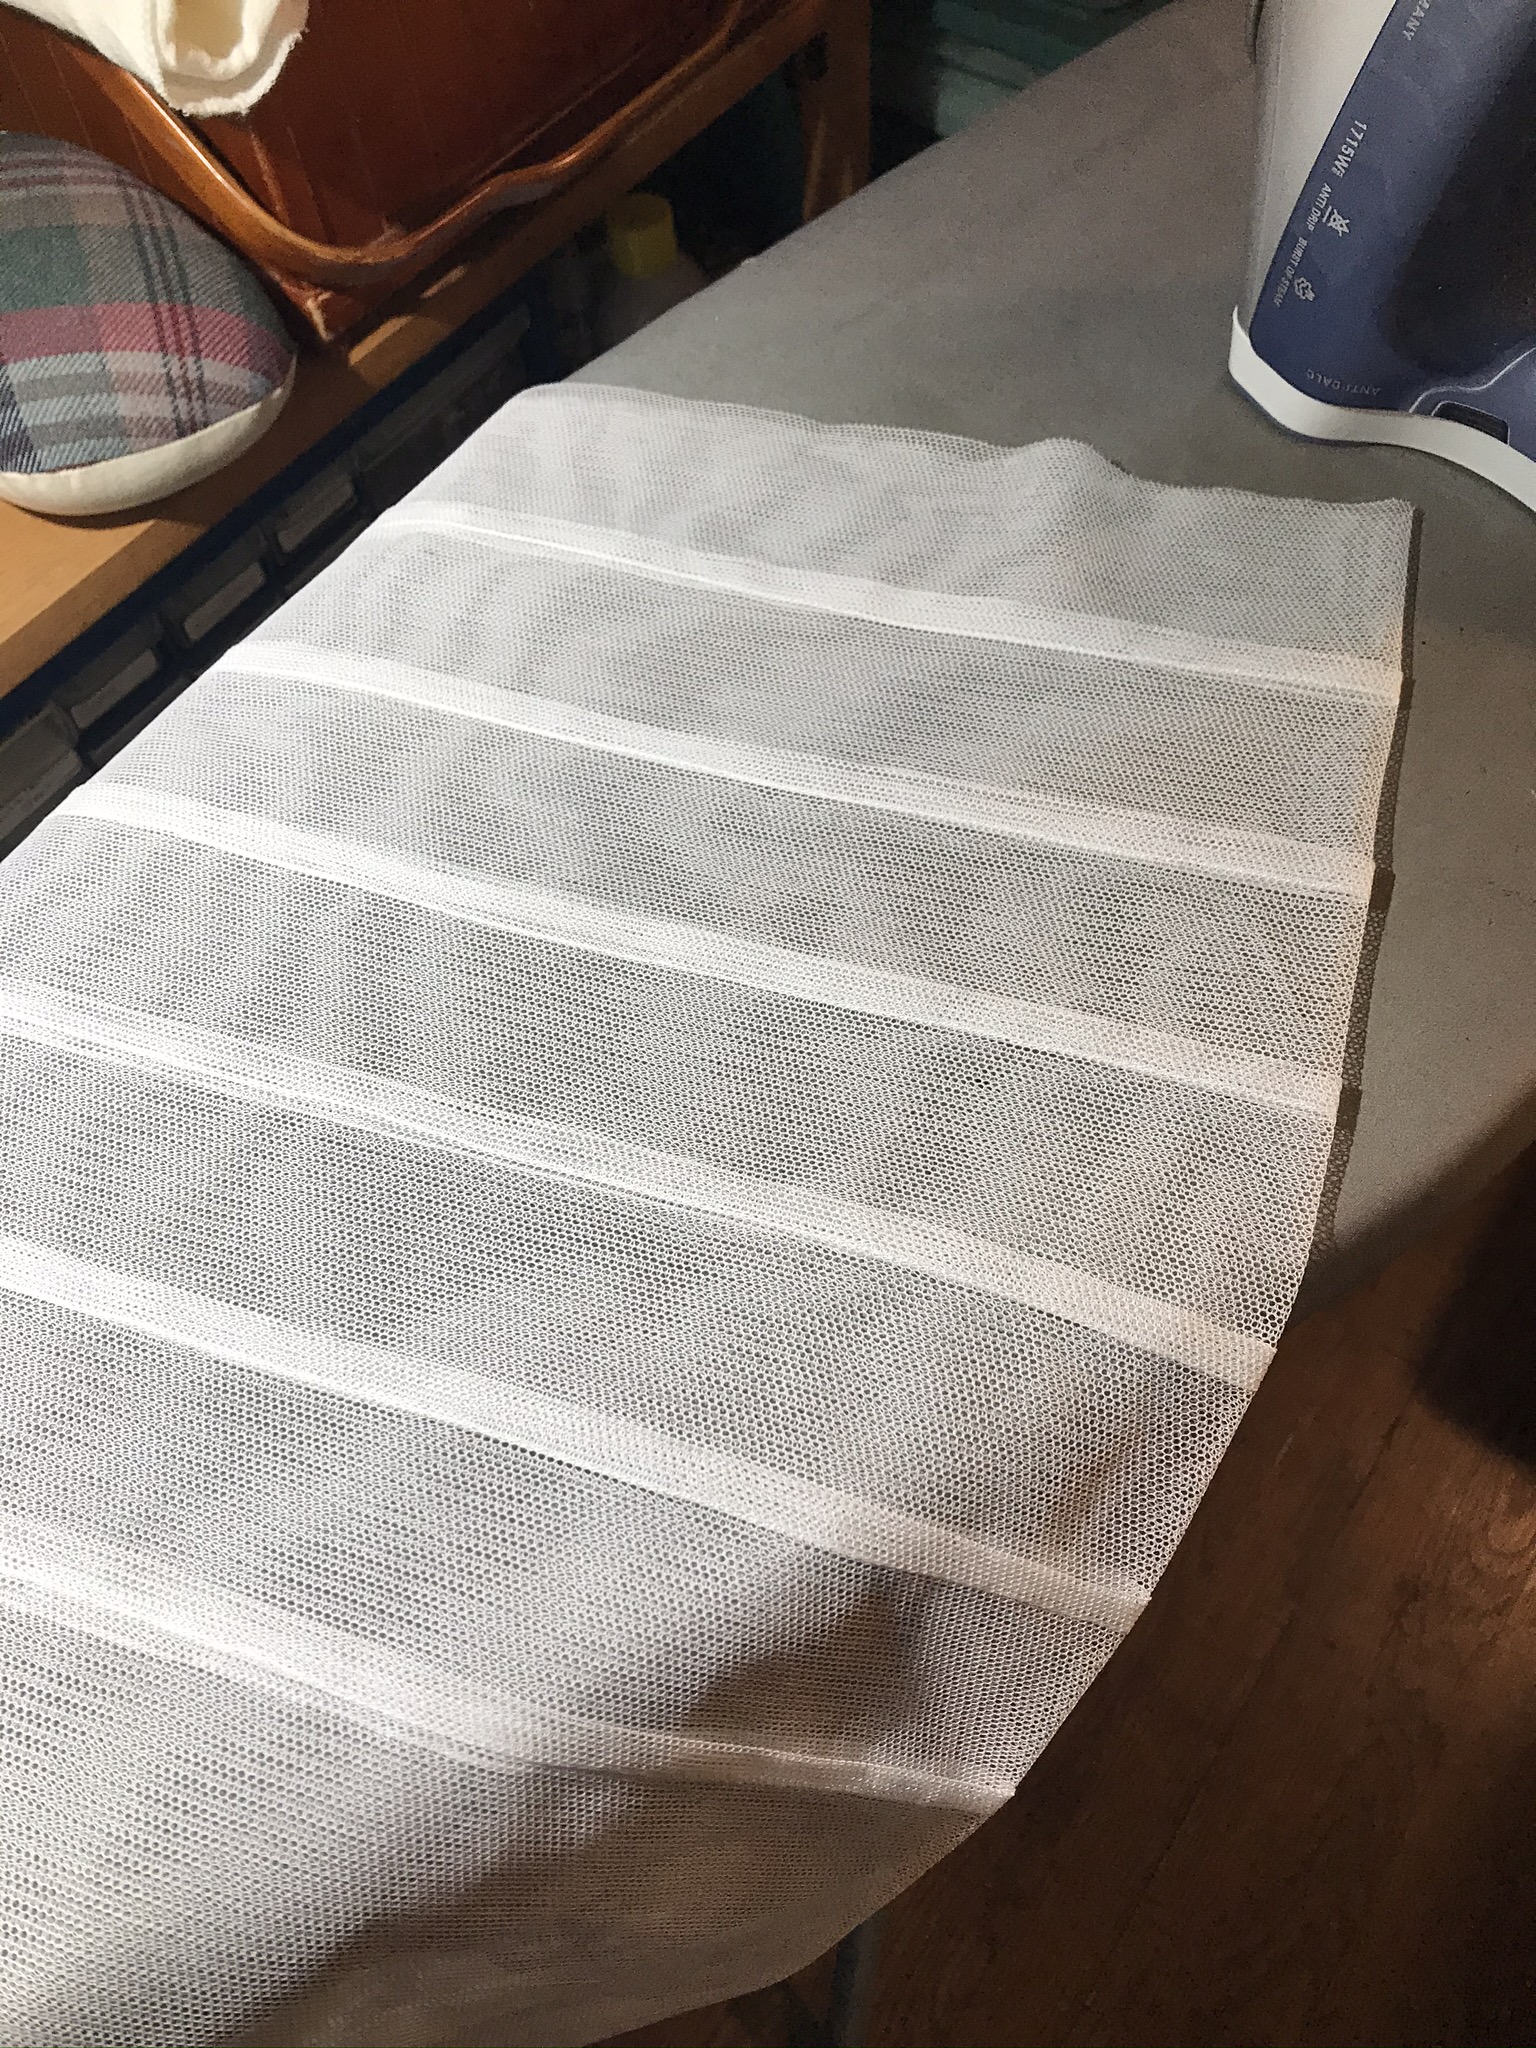
I planned to make the yoke and the upper sleeves of tucked net and the lower sleeves of my coordinating lace. I made the tucks in my net fabric before laying out my pattern. Here is where precise pressing and stitching are so important!
 I knew that the lower section of the sleeve would be a solid section of lace. I didn’t want to add the intricate fastenings that were part of the 1910 pattern. Instead, I allowed enough wearing ease that I can pull the sleeves over my hands without snaps or buttons.
The Guimpe, Finished
I was pleased overall, with the general shape of the new Under Waist.

For the embroidery motifs, I traced the shape of the floral spray from my lace. Then I enlarged the design using modern technology: the copier on my computer printer. I was able to pin my paper pattern behind the sheer yoke and embroider the design.

Sometime after I finished the new Guimpe, I started to admire other dress styles from 1909, including some that had deep vee necks. Or I might someday want to wear a jacket with a vee shaped neck opening. My high, wide yoke wouldn’t work under one of those. As they might have said in a 1909 article, it would not “look well.” Fortunately, I had more or the wide lace available, so I was able to cut a section and add it to the Guimpe.
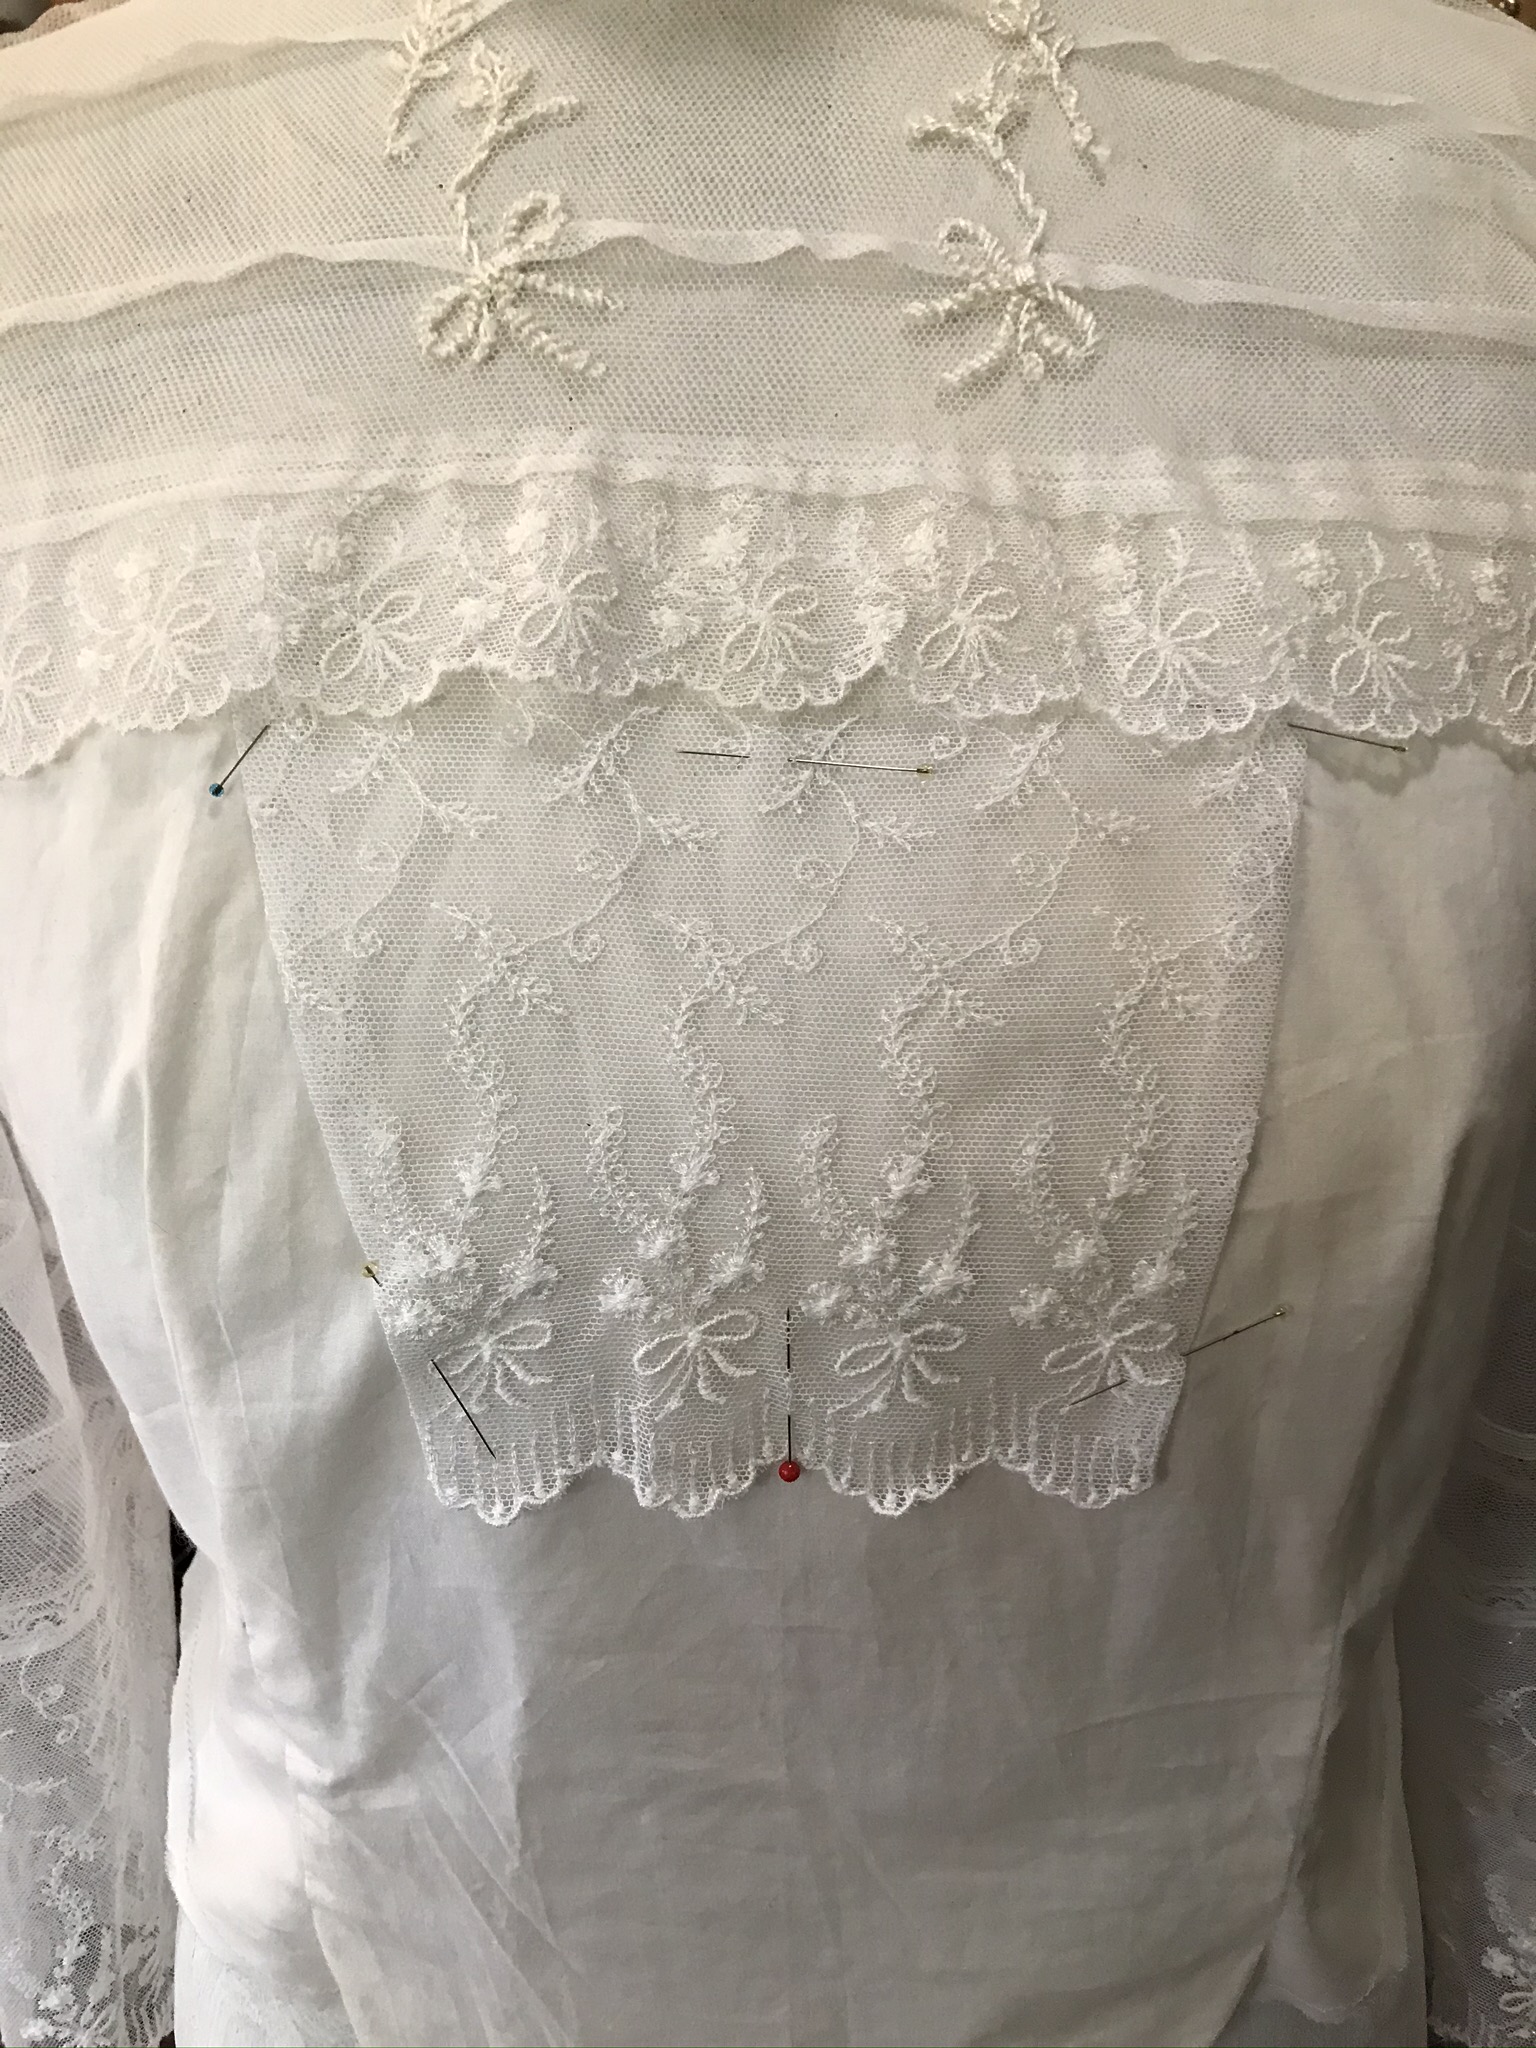
I hand stitched the new section to the body of the Guimpe. I decided not to cut away the cotton fabric underneath, although that would have been an option in 1909.

Here is the finished Under Waist on my mannequin. The several types of materials and trims blended nicely to create an authentic looking, but simple Guimpe.
Finished!
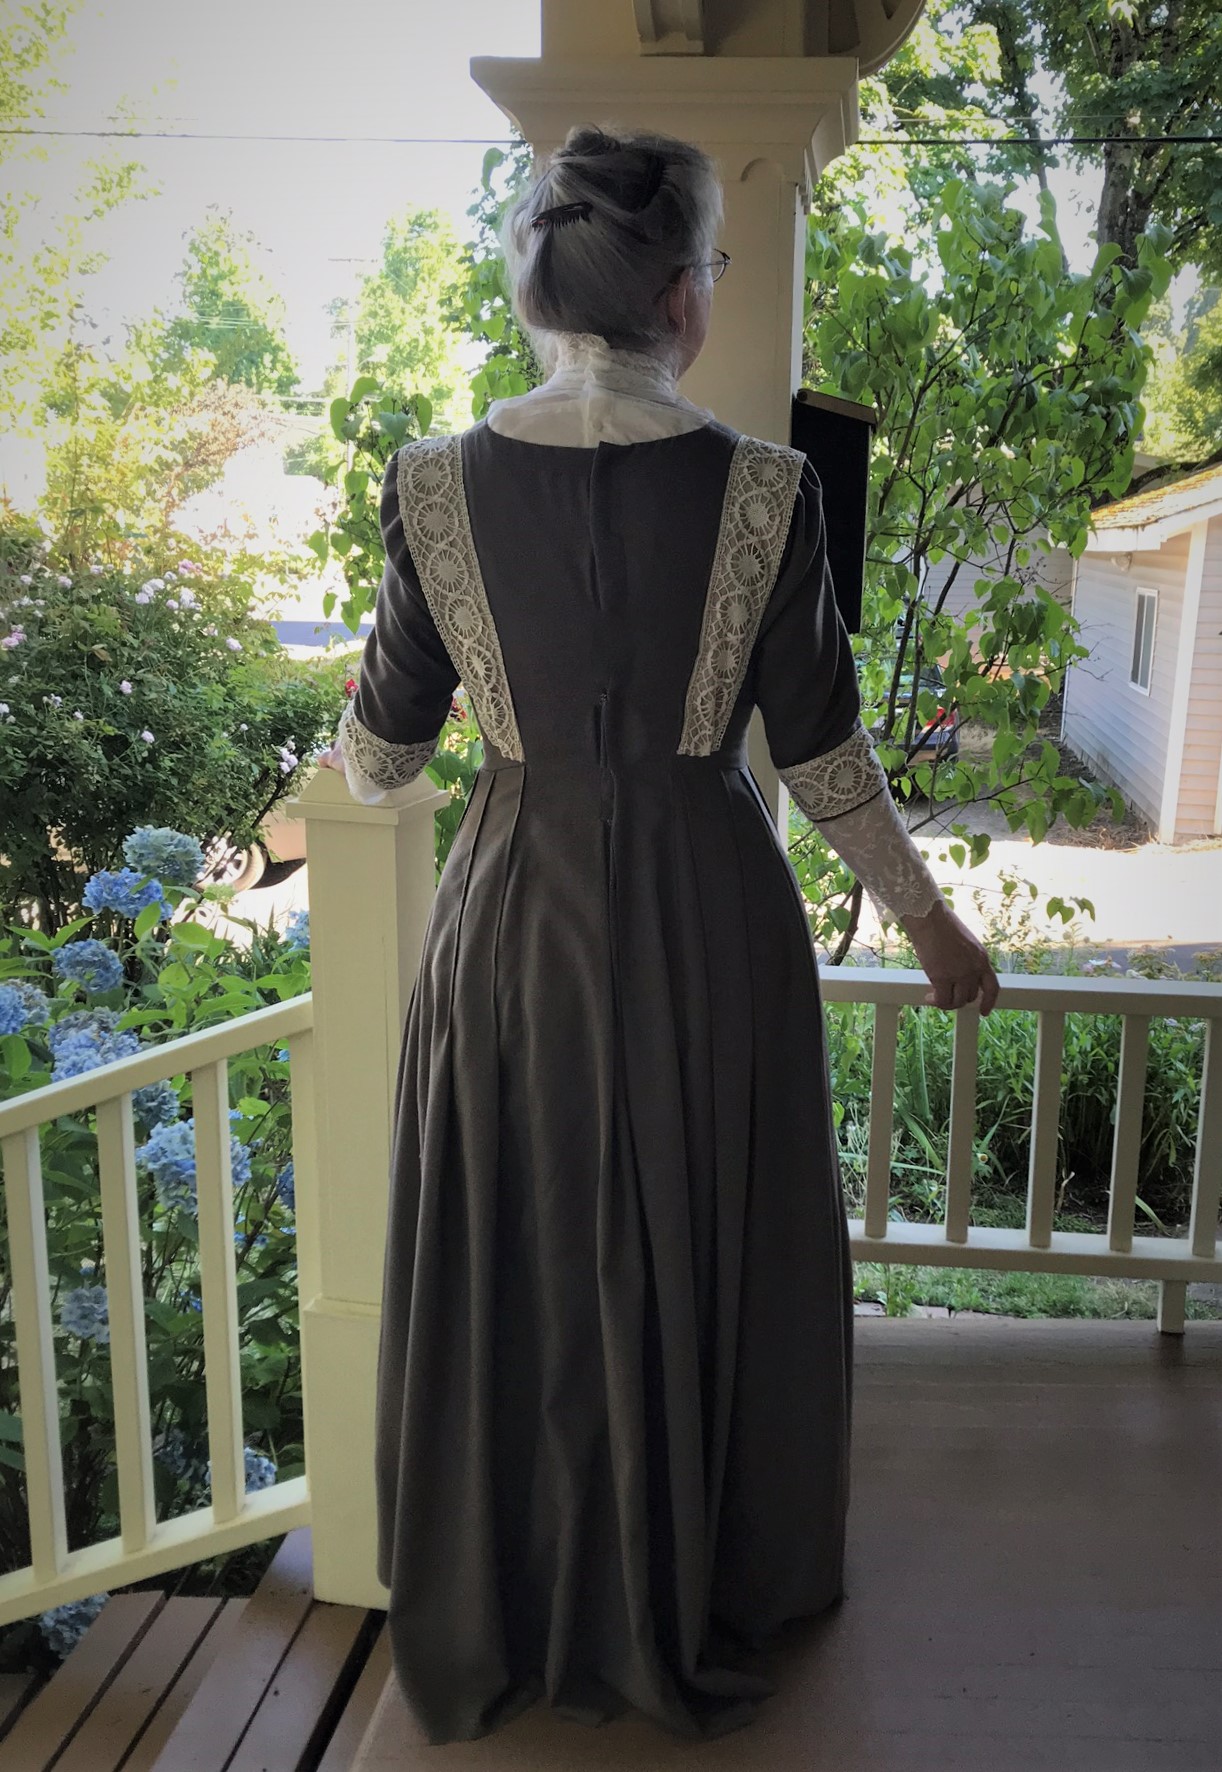
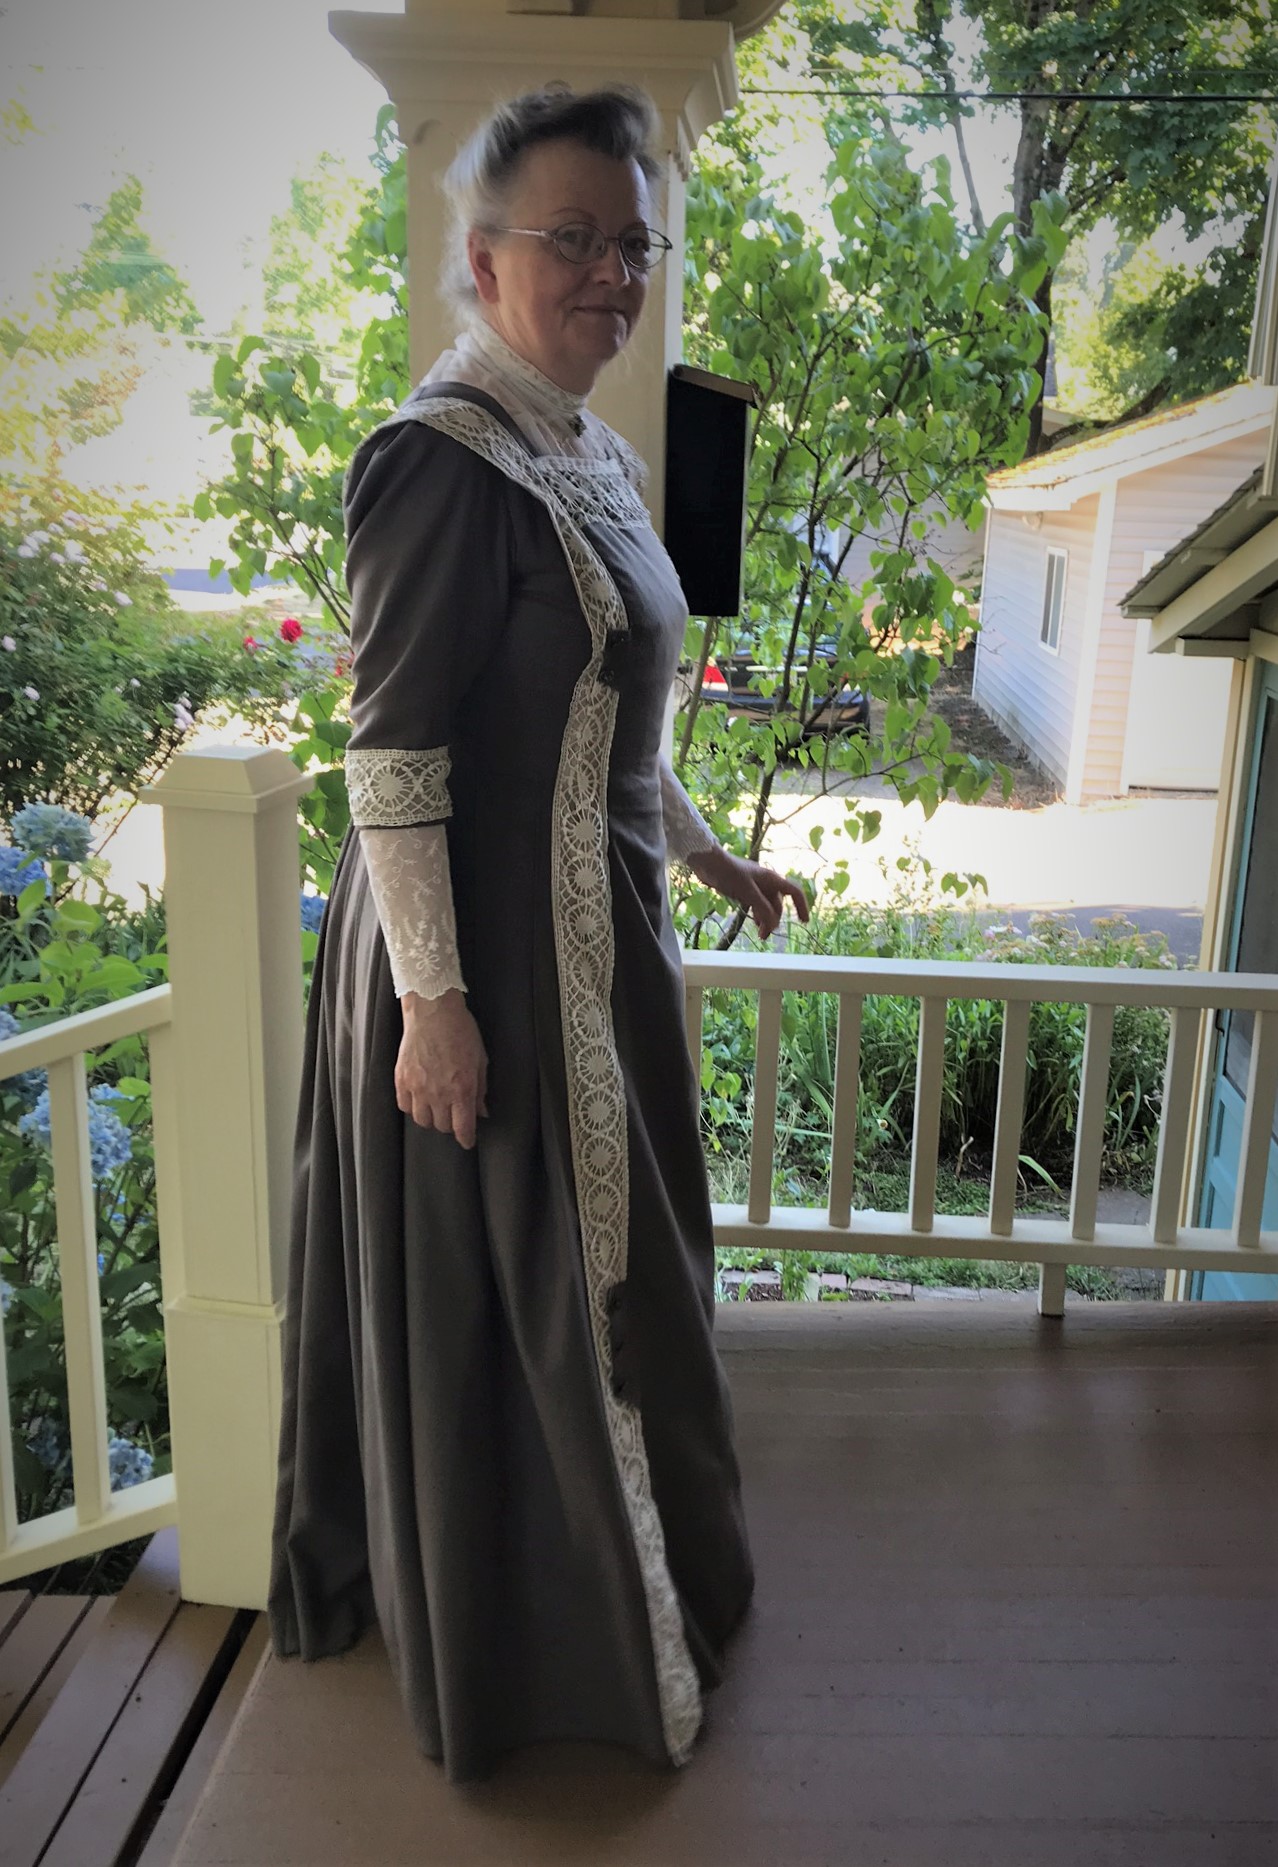
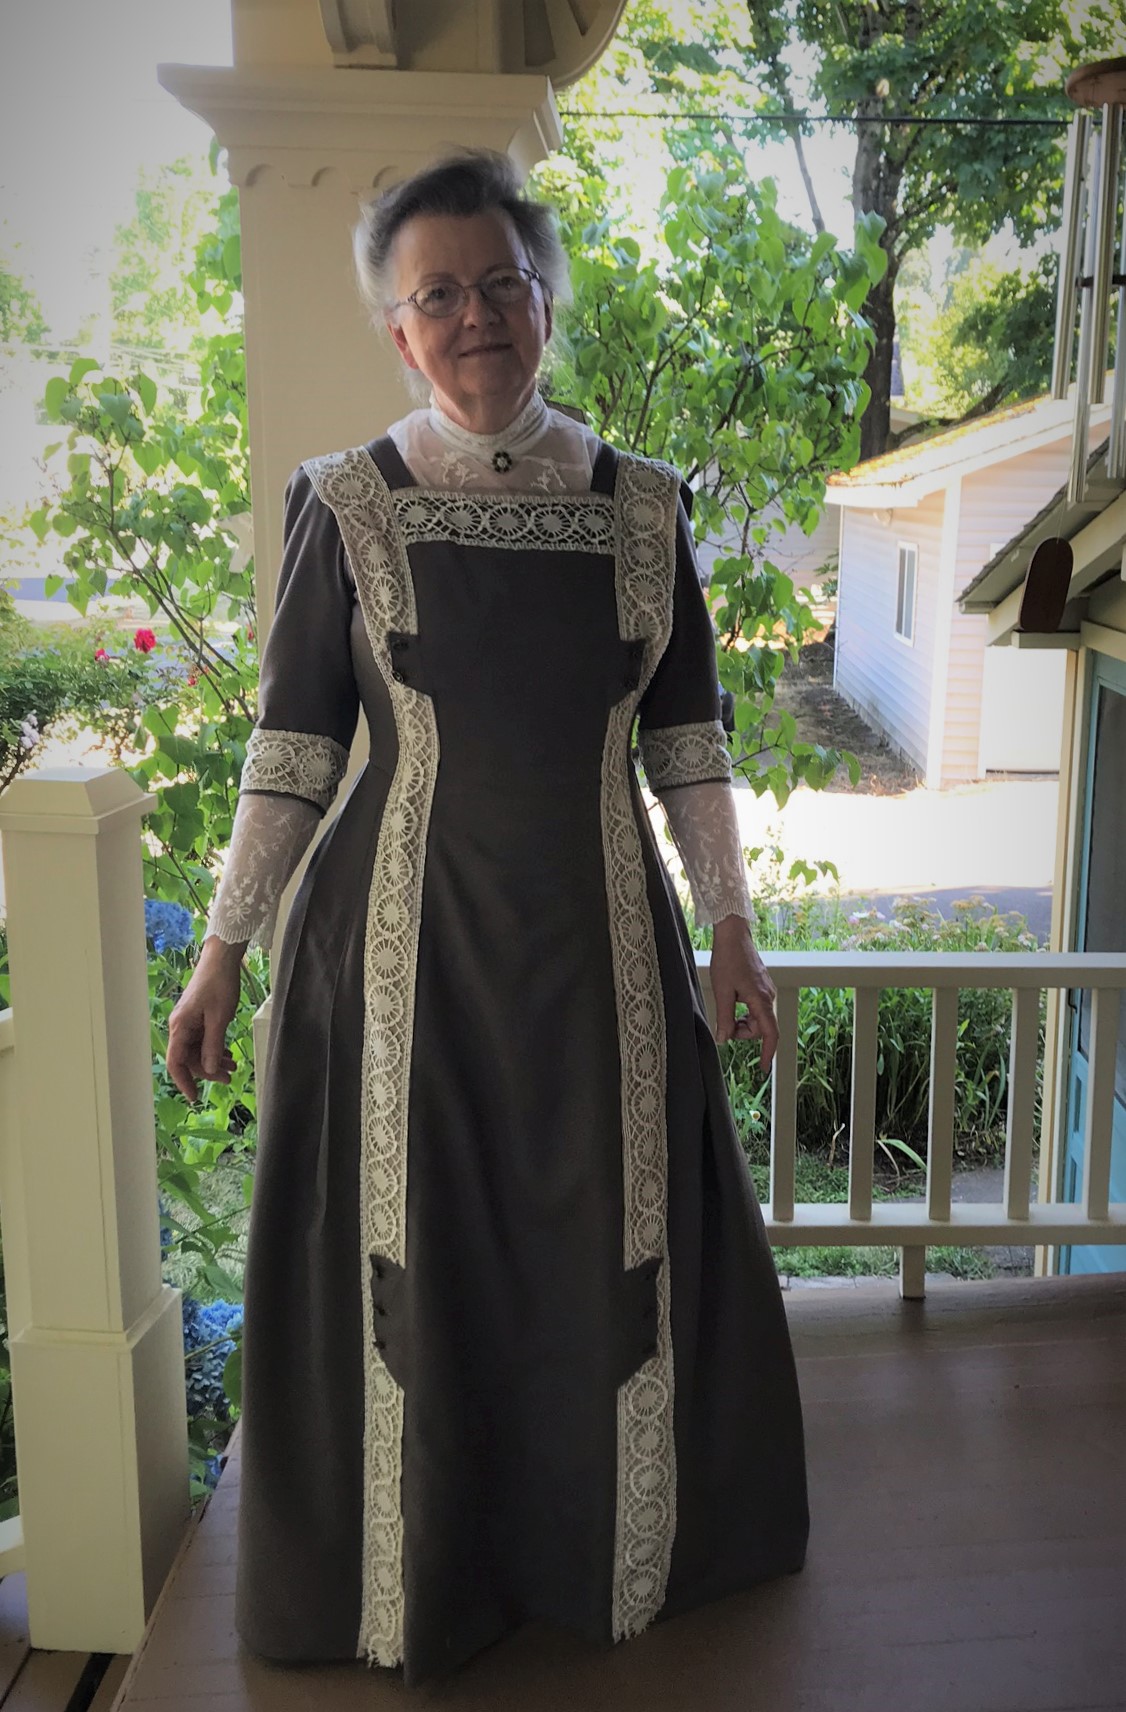
Finally, I was able to wear my new Under Waist as it was intended: underneath an afternoon dress, circa 1909. The neckline is open and cut in a square shape, which was one of the most fashionable styles in 1909.The yoke extends below the neck opening, so it gives the appearance of an attached piece.
I noticed that my elegant net and lace sleeves appear a bit short on my long arms… Just like a seamstress in 1909, I will probably rework the sleeves before the next wearing. I could add an edge of matching lace at the lower edge, or I can piece in another section of net with a band of insertion lace to conceal the join.
Which should it be?

- Playing with the Arts and Crafts style - December 4, 2025
- Looking back at “Sweetness and Light” - June 6, 2025
- Plans for The 1909 School in 2025 - April 8, 2025