I live in a comfortable old house on a tree-lined street in Hillsboro, Oregon. When the house was built in 1909, the park across the street was still a cow pasture, and the village of Hillsboro had a population of about 2,000 people. The Commercial District, as the downtown was called, and the new residential additions were just beginning to modernize, with paved sidewalks instead of boardwalks, overhead wires carrying electricity, water and sewer service (instead of wells and septic systems), and even a telephone exchange!
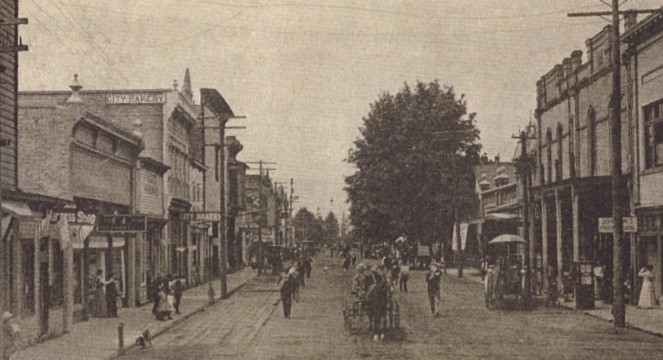
Downtown Hillsboro, circa 1909
The house is built in the American Foursquare style. It has a roomy front porch and an open living room, with three bedrooms and a bathroom on the second floor (with the original claw foot tub). Over the years it has been remodeled; since we have lived here my husband and I have restored much of it to its 1909 appearance.
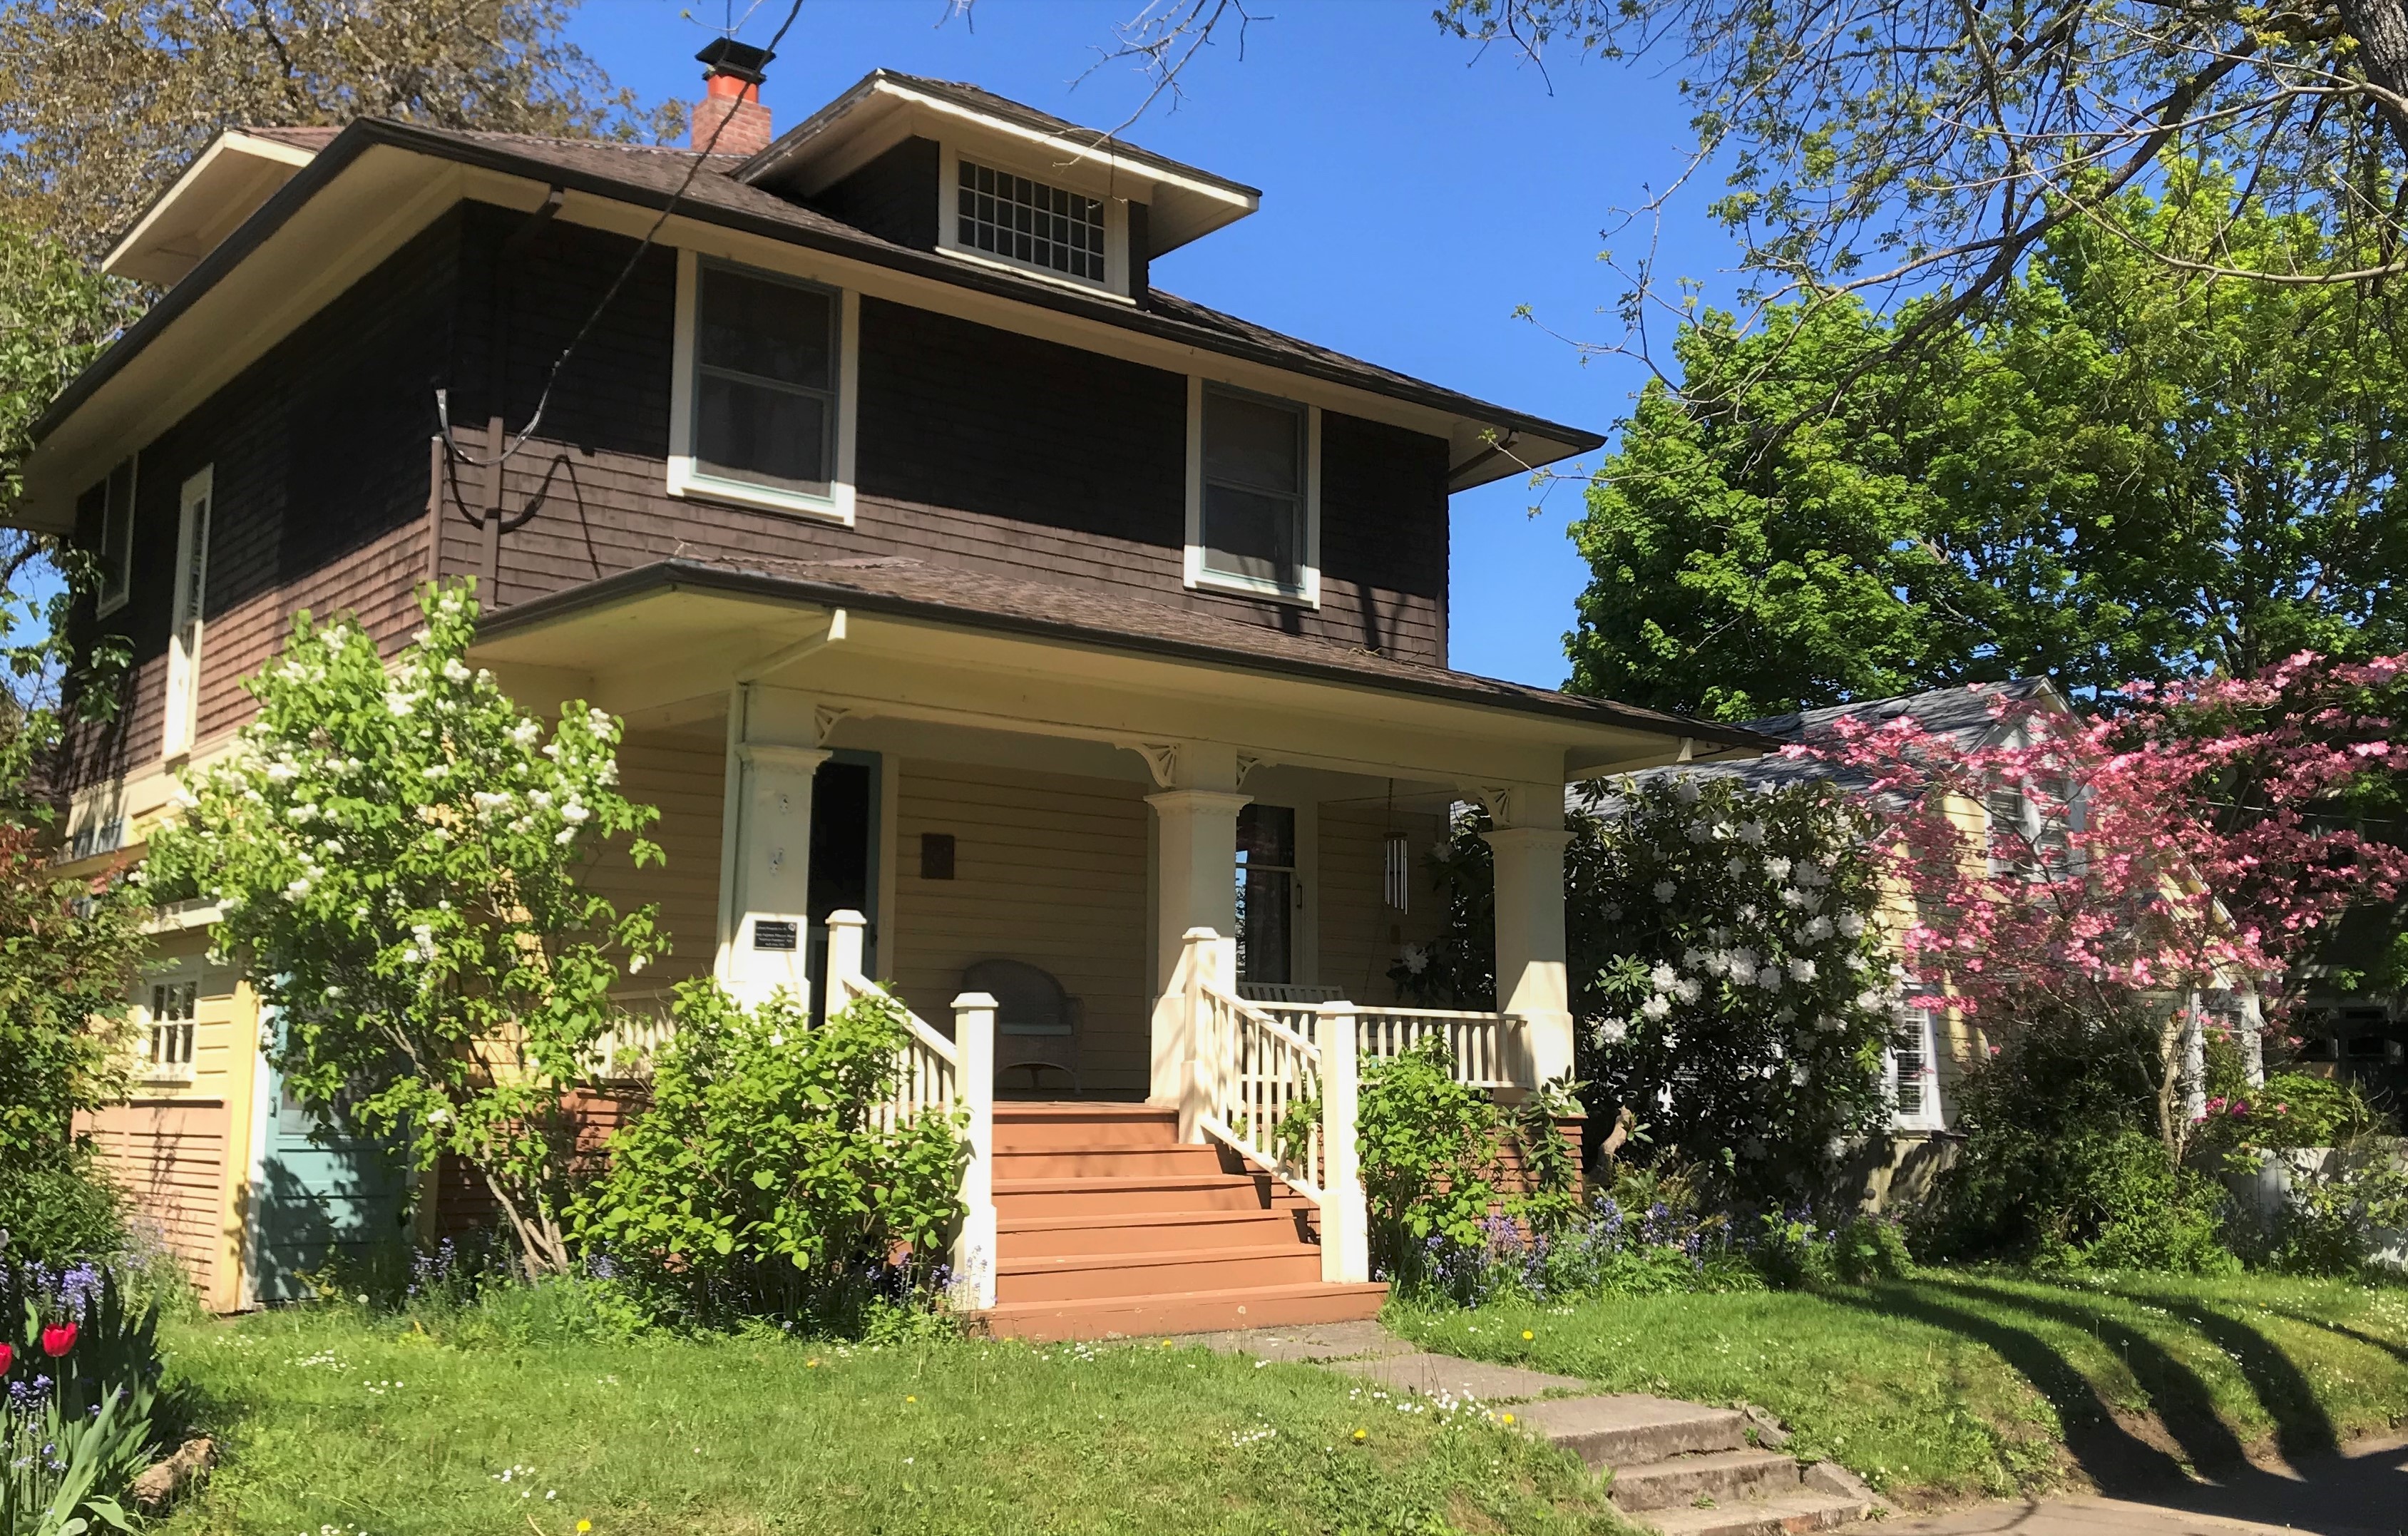
The house in 2020
The first owner of record was a local woman named Mary. She was born in 1846; she arrived in Oregon during Territorial days, traveling with her parents and siblings to live in this beautiful, fertile region of the world. In the course of her life she was a schoolteacher, a young wife, a mother of three, a woman of status, and then a woman abandoned by her husband when he was accused of embezzling. When he fled the country in 1886 in disgrace, she carried on. She took in boarders, went back to teaching, cared for her aging parents, and maintained her reputation in the community. By 1909 her parents and her estranged husband had passed on, and she and her son bought land in a developing neighborhood to have this modern home constructed. Within a few years she sold the house to live nearby with her adult daughter, so her time here was short. But I try to imagine her in these rooms as I go about my days.
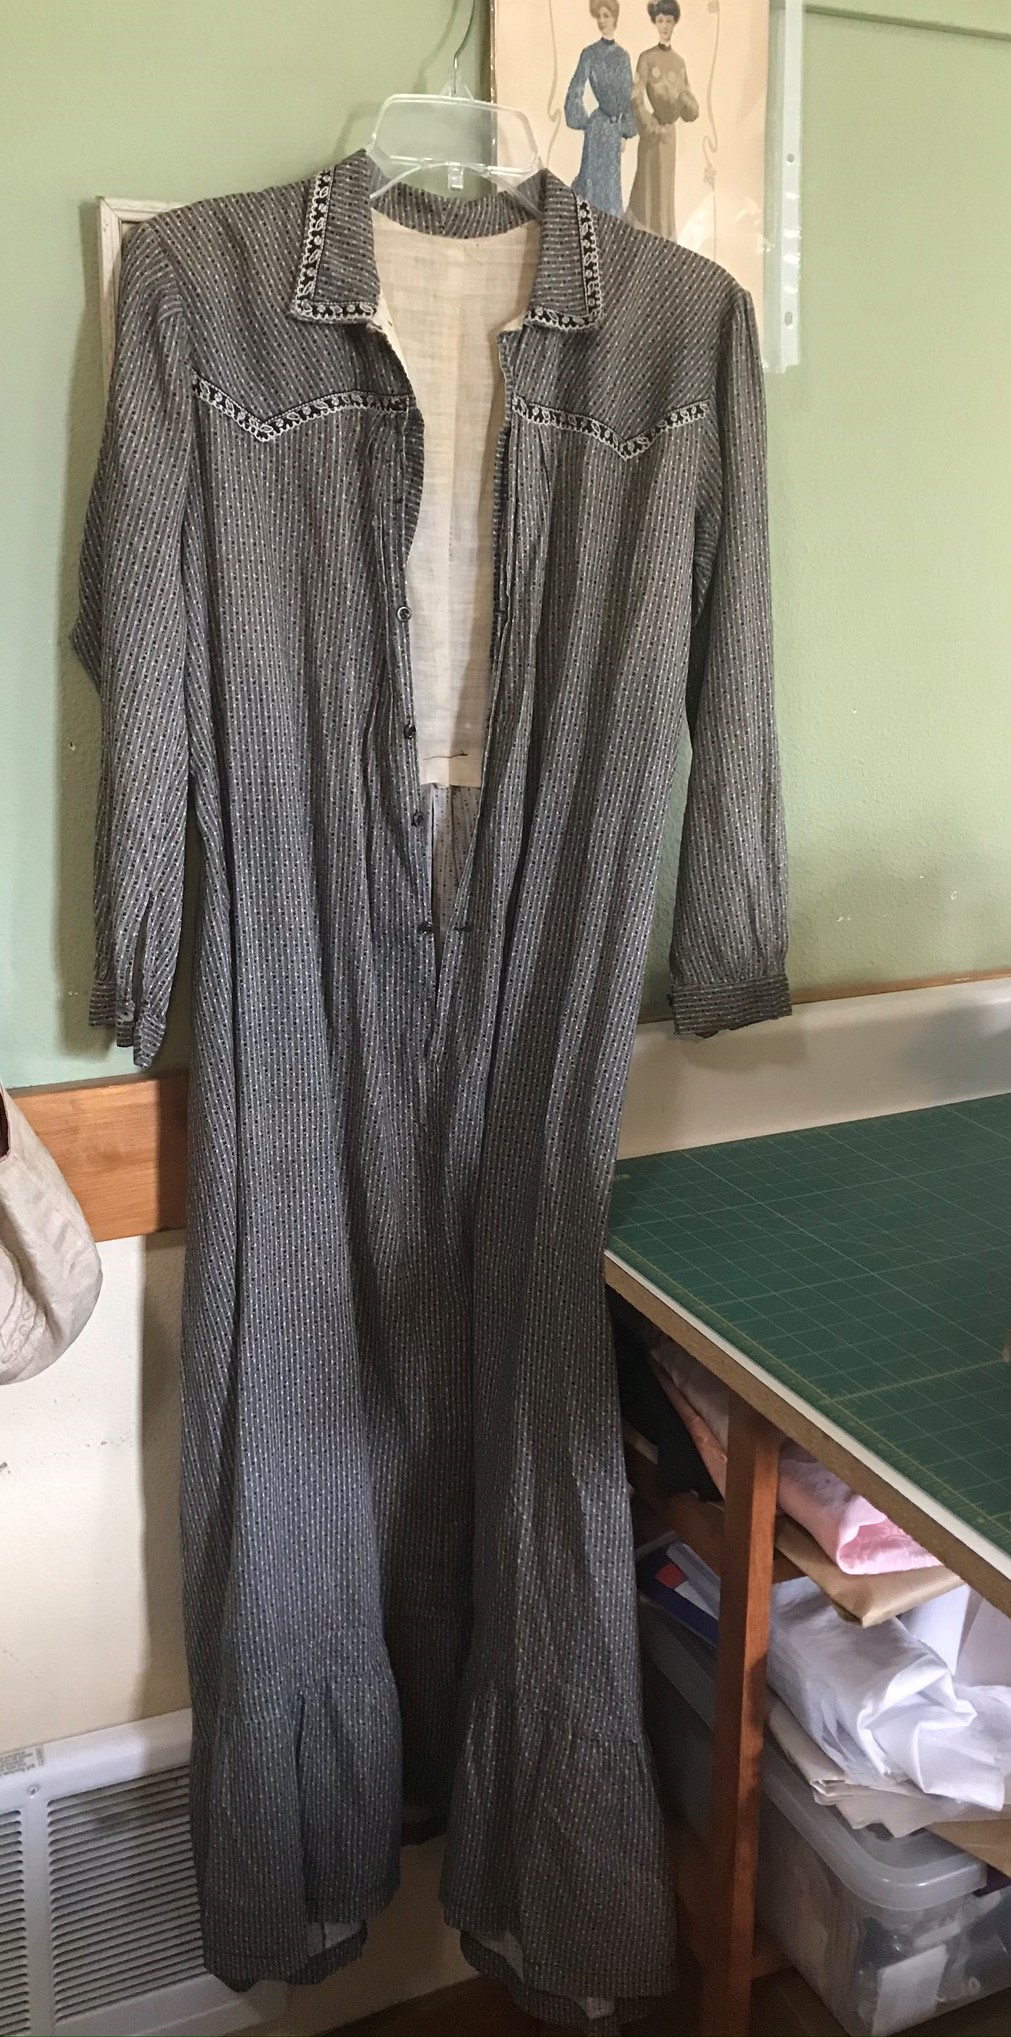
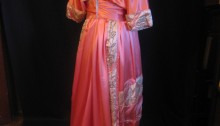
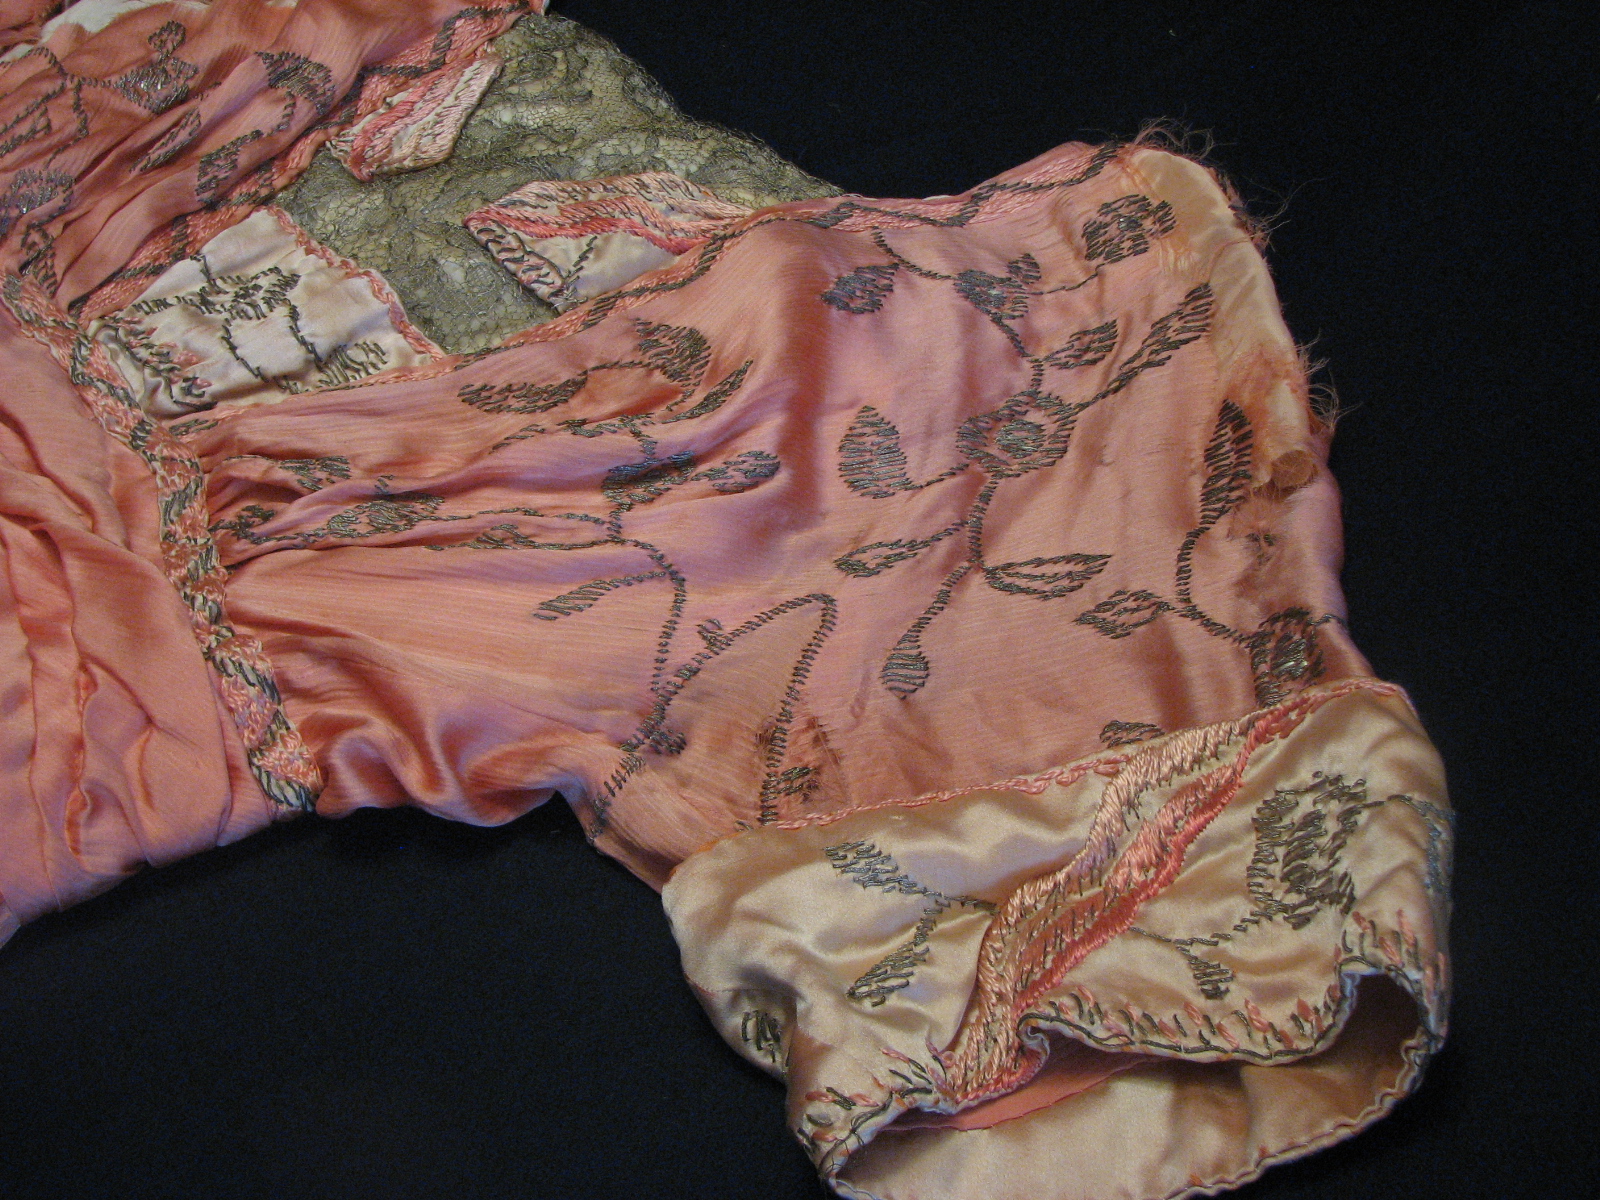
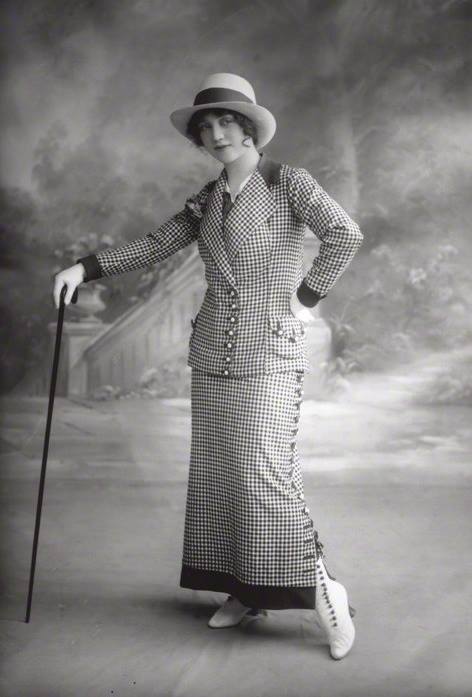
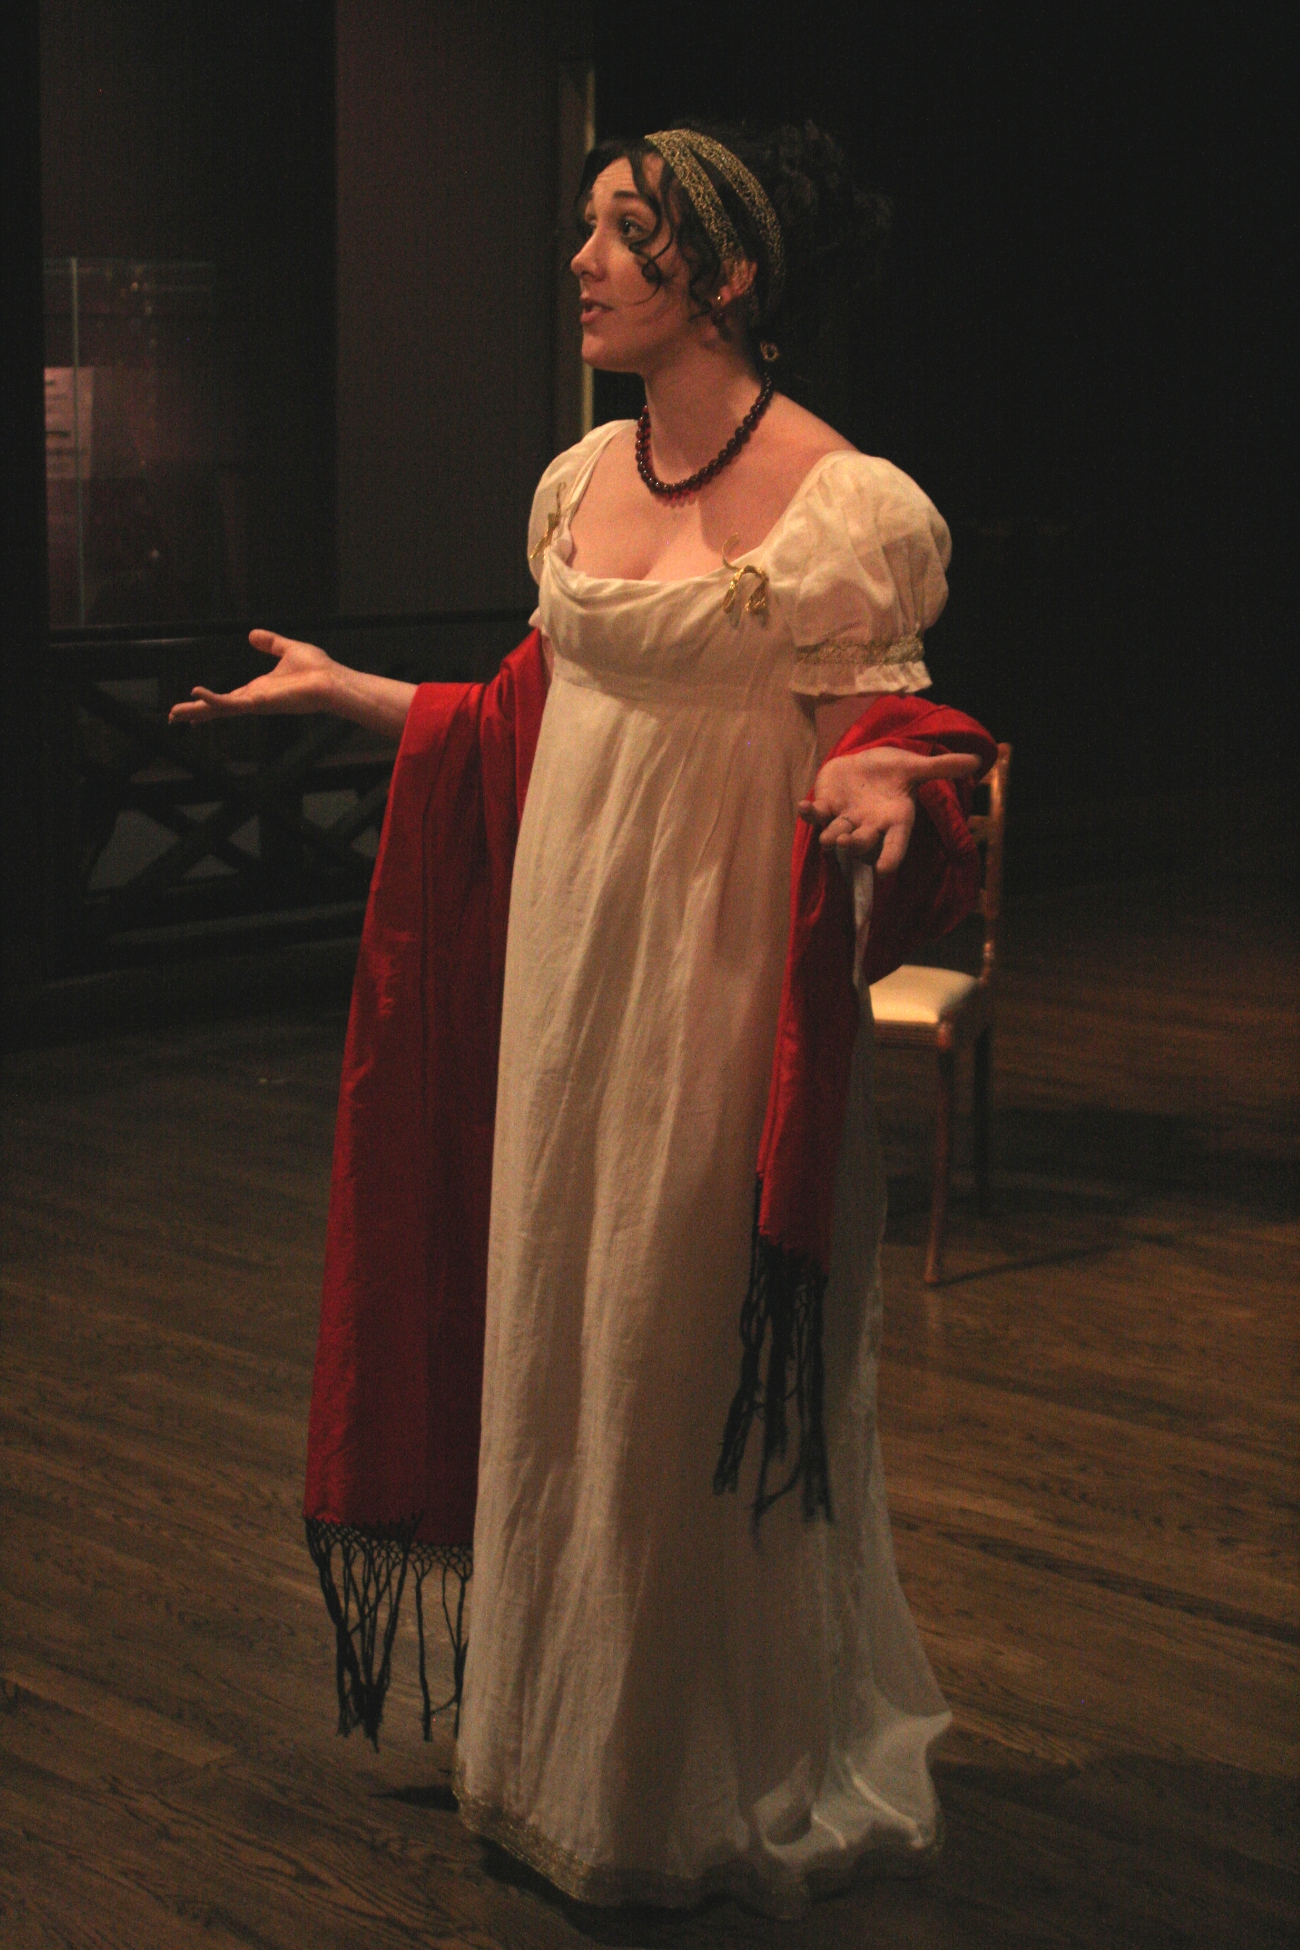
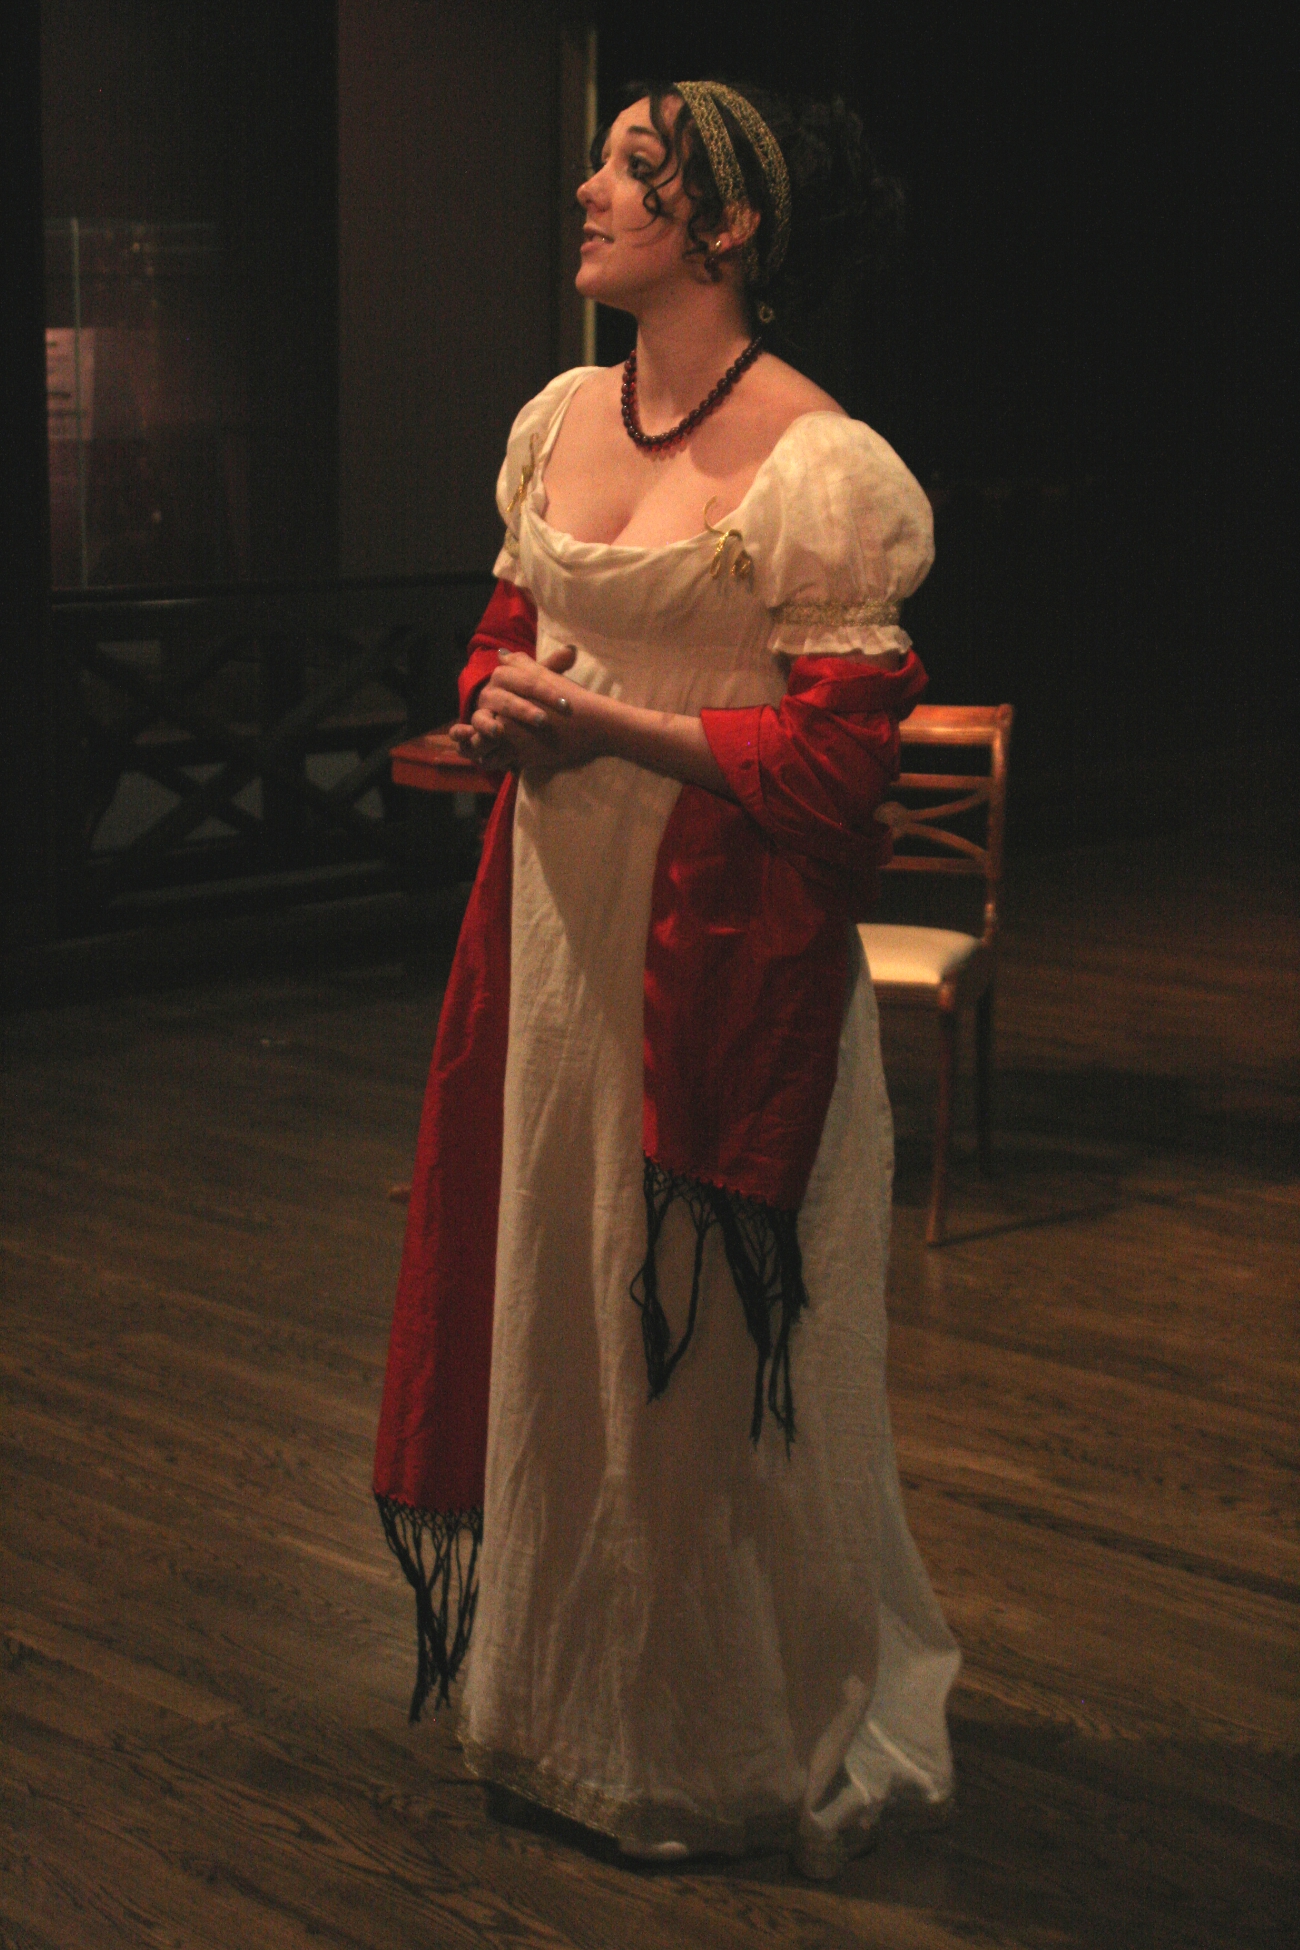
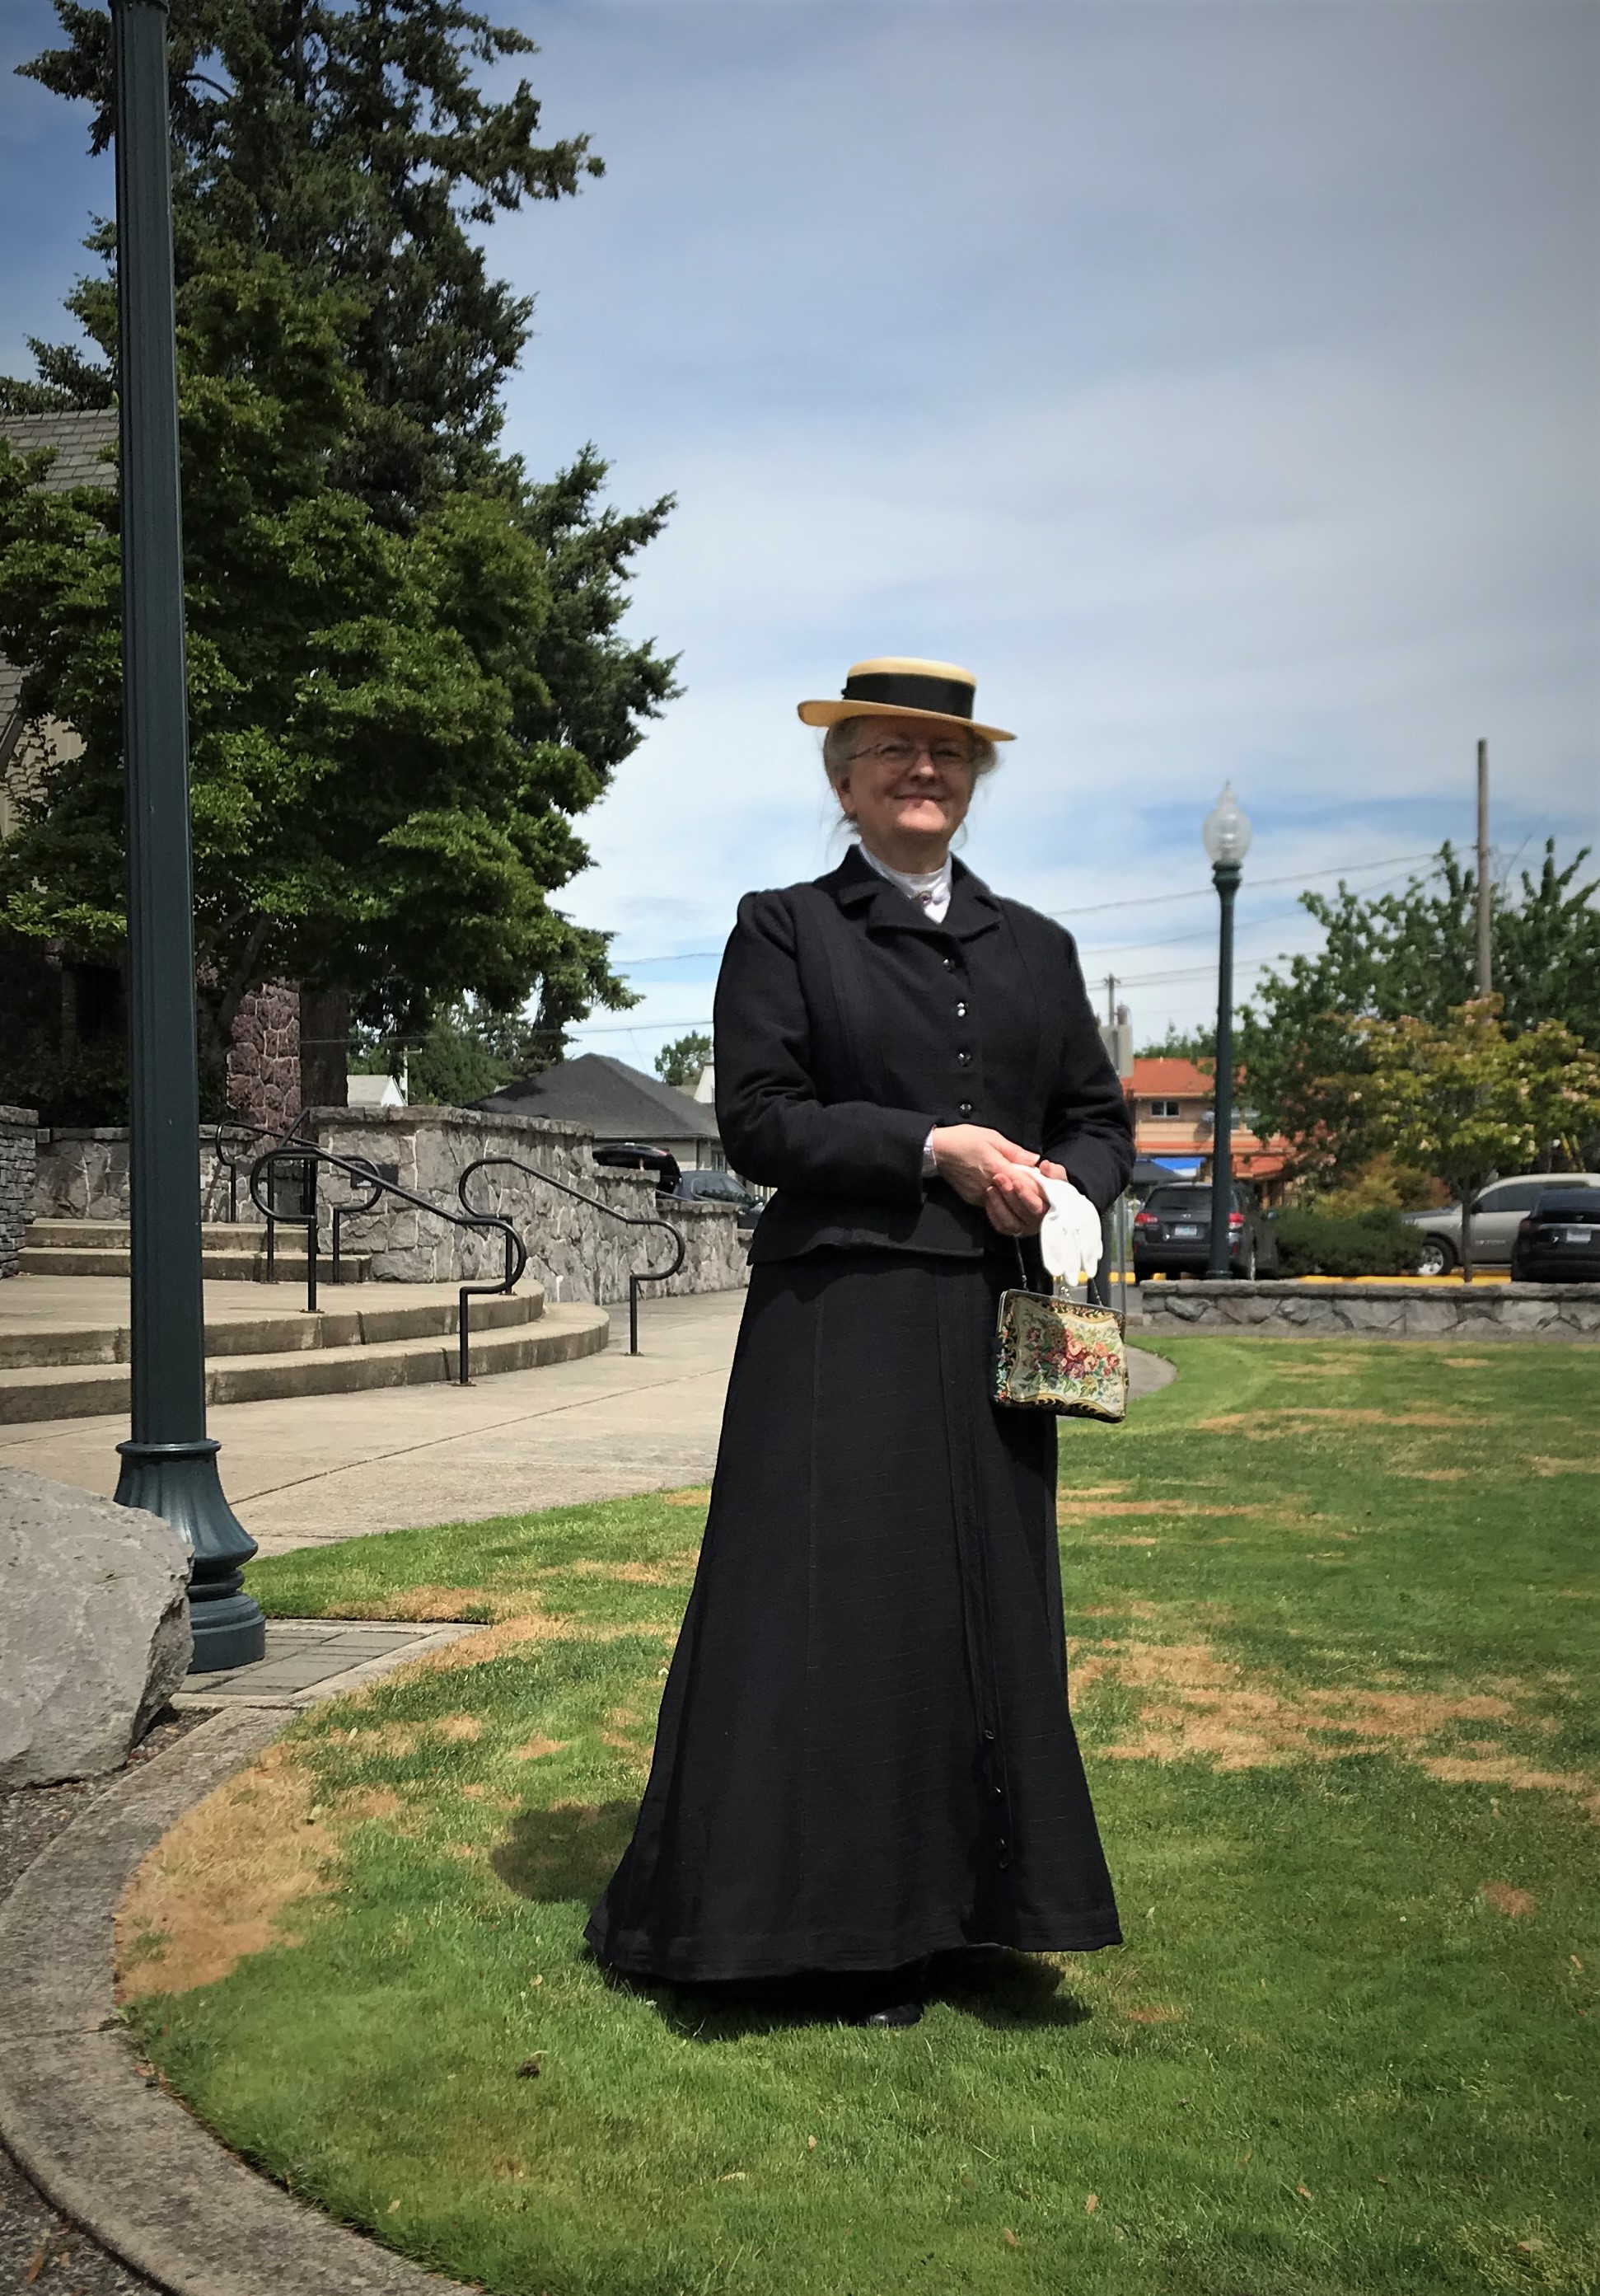
I have always loved historic styles in art, furnishings, and clothing. Since I have lived in Mary’s house, I have grown a small business making historic replica clothing for reenactors and historic sites across the county. I have focused on the 19th and early 20th centuries, and I have gradually come to admire the Edwardian era more than any other. In fact, I have found several places and ways to wear Edwardian fashions; I dress for local historical society activities, and I co-founded The Edwardian Society of Oregon a few years ago. I enjoy “dressing” for our events and encouraging our members to do the same.
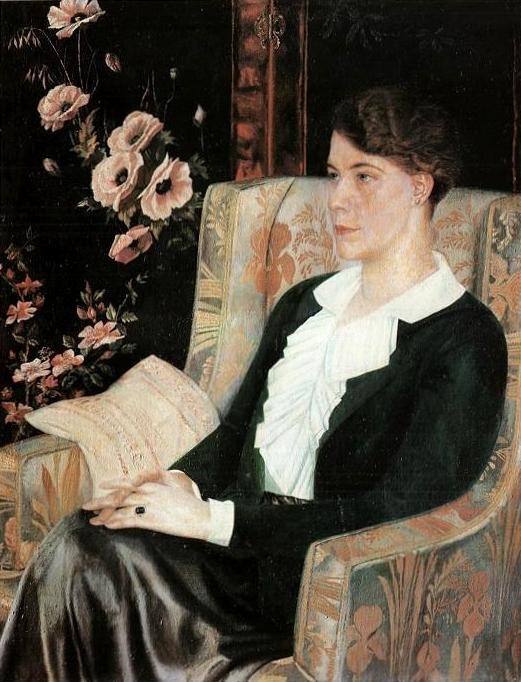
After 30 years here, I have approached the age that Mary was when she moved in! (How does this happen?) So, when I started dreaming of making a complete wardrobe, my 1909 house was the ideal setting. And a respectable middle-aged woman is my role model.
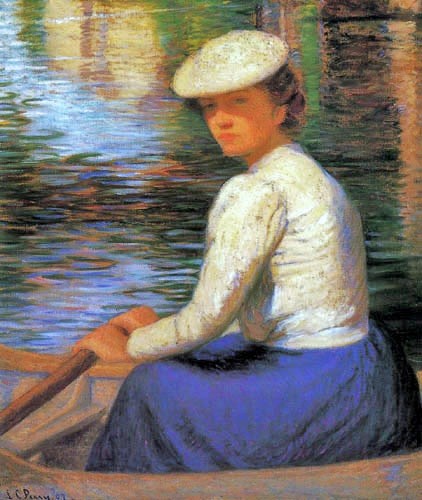
 I know some of Mary’s story, but nothing about her taste in clothing or her personality. So, for my 1909 Wardrobe Project, I have chosen to create a fictional character, a contemporary of Mary’s. I will call her Maggie (my great-grandmother’s name), and I will give her a different backstory.
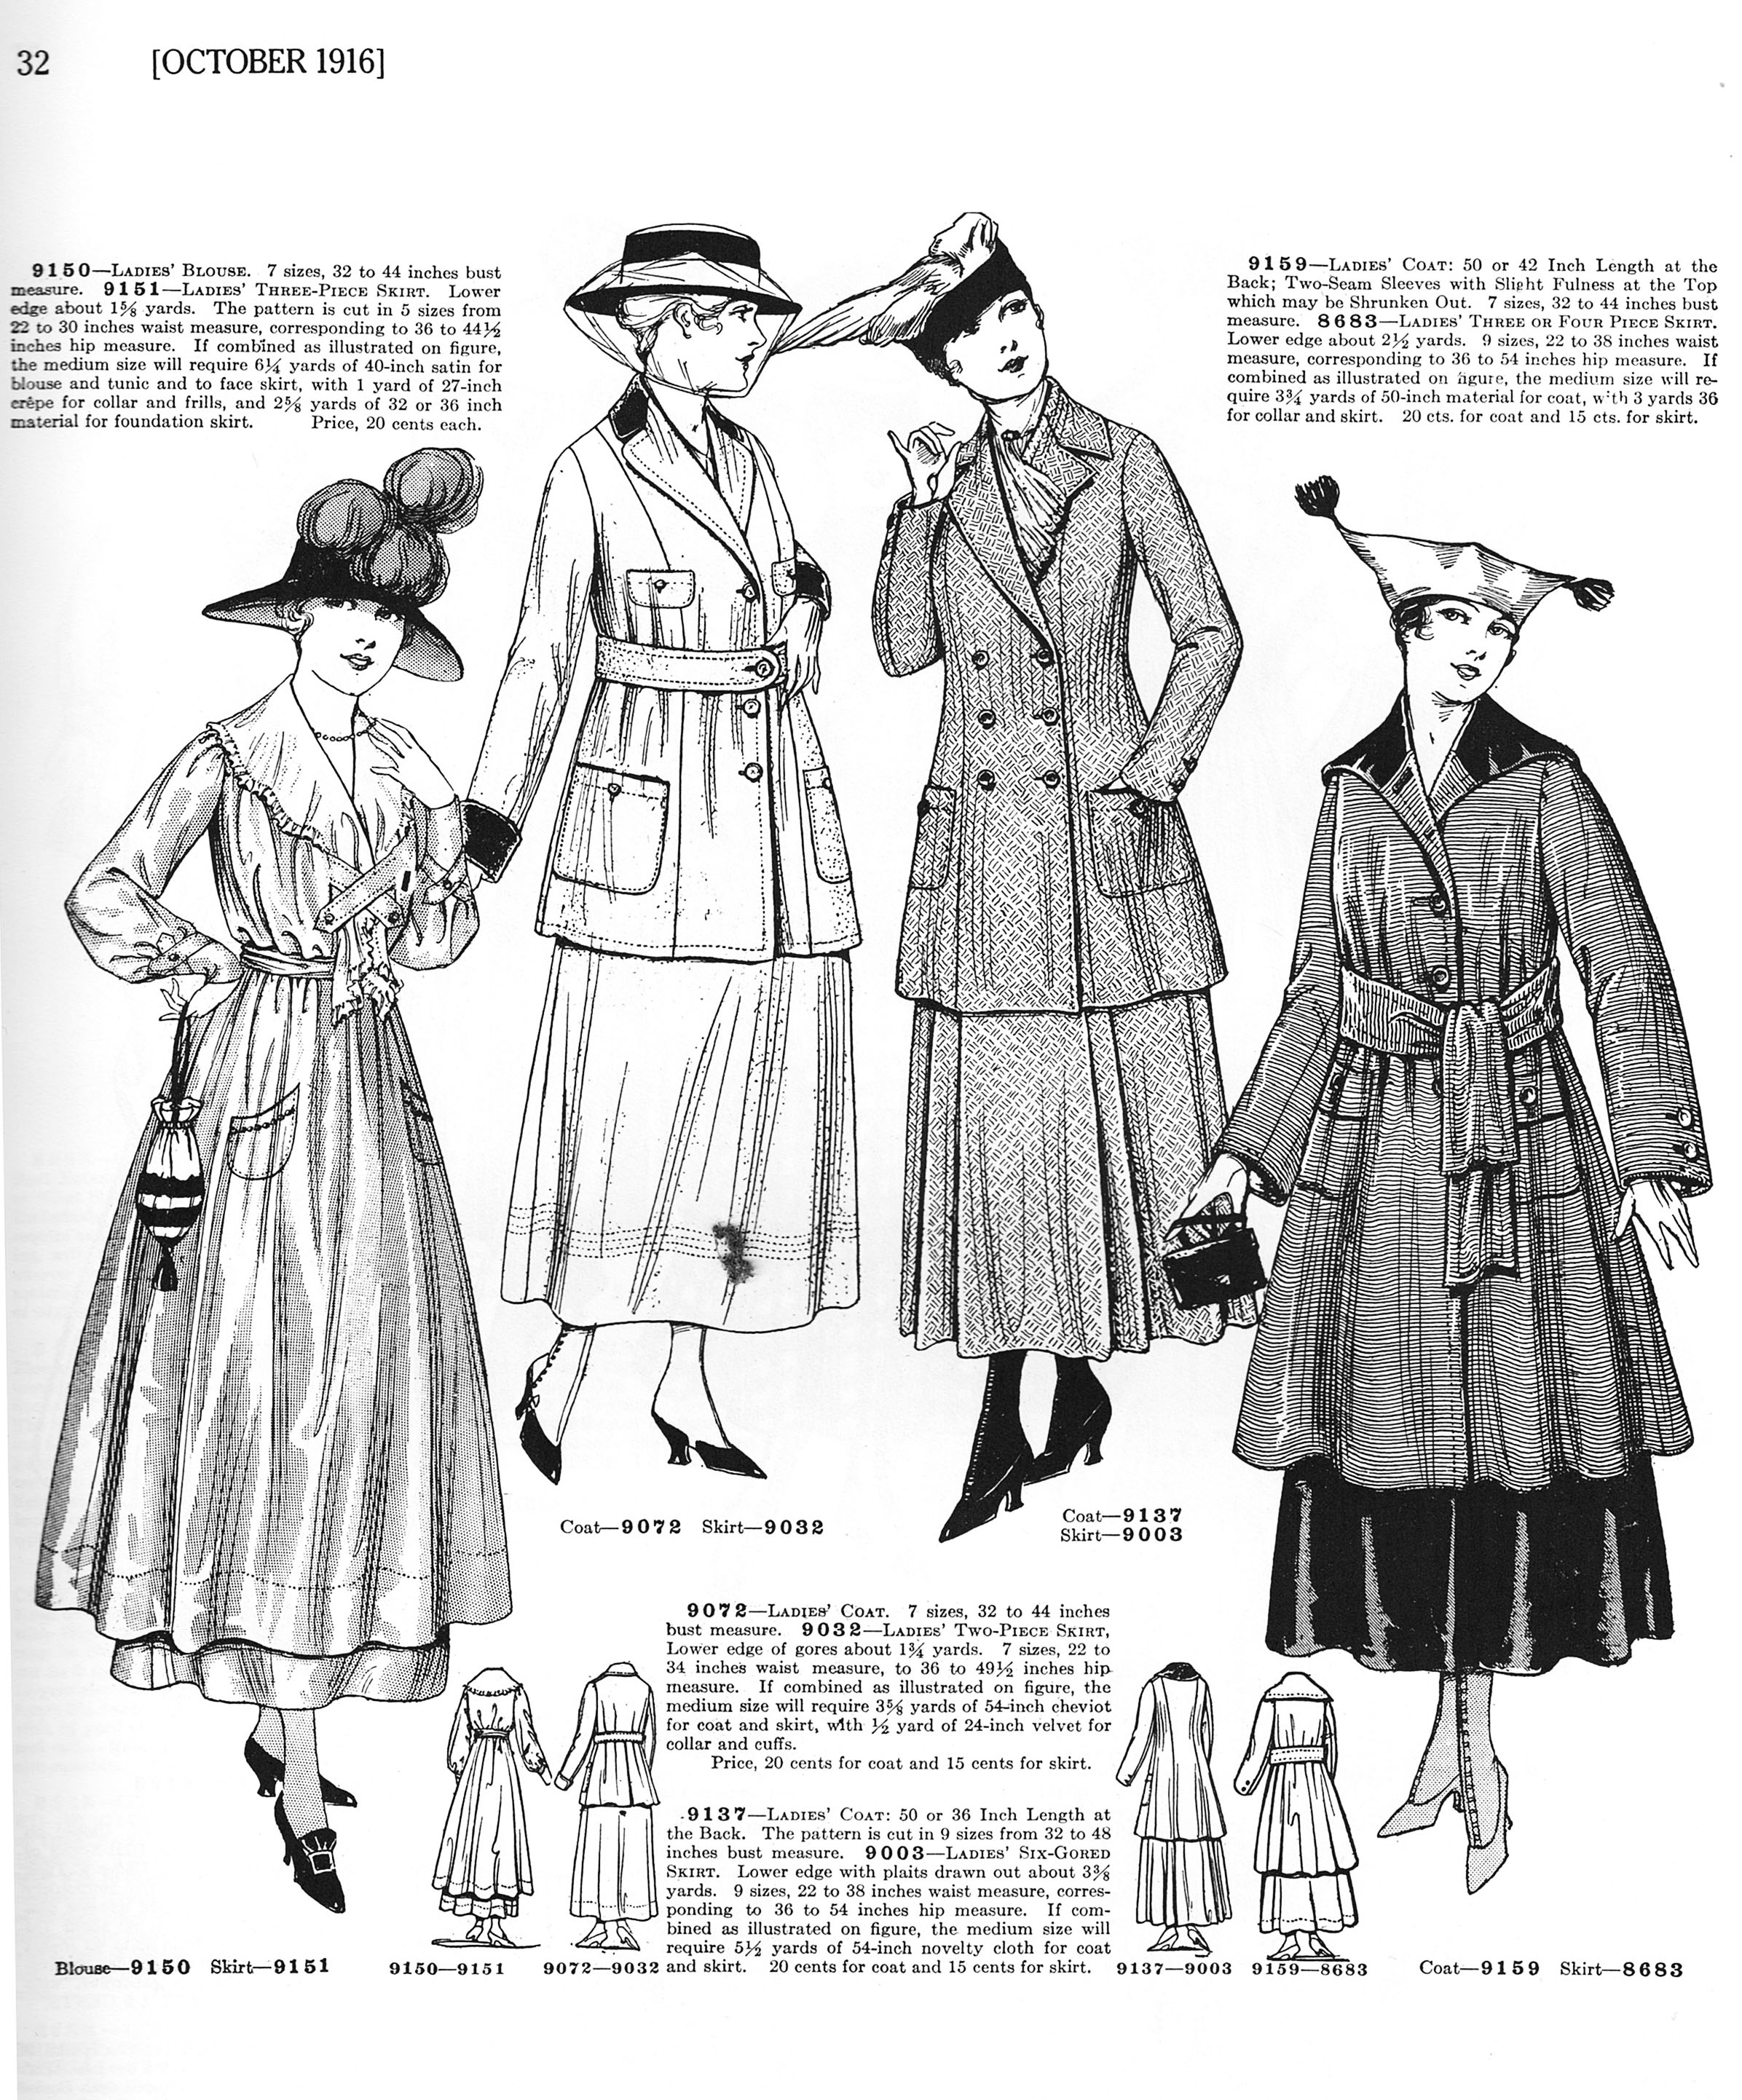
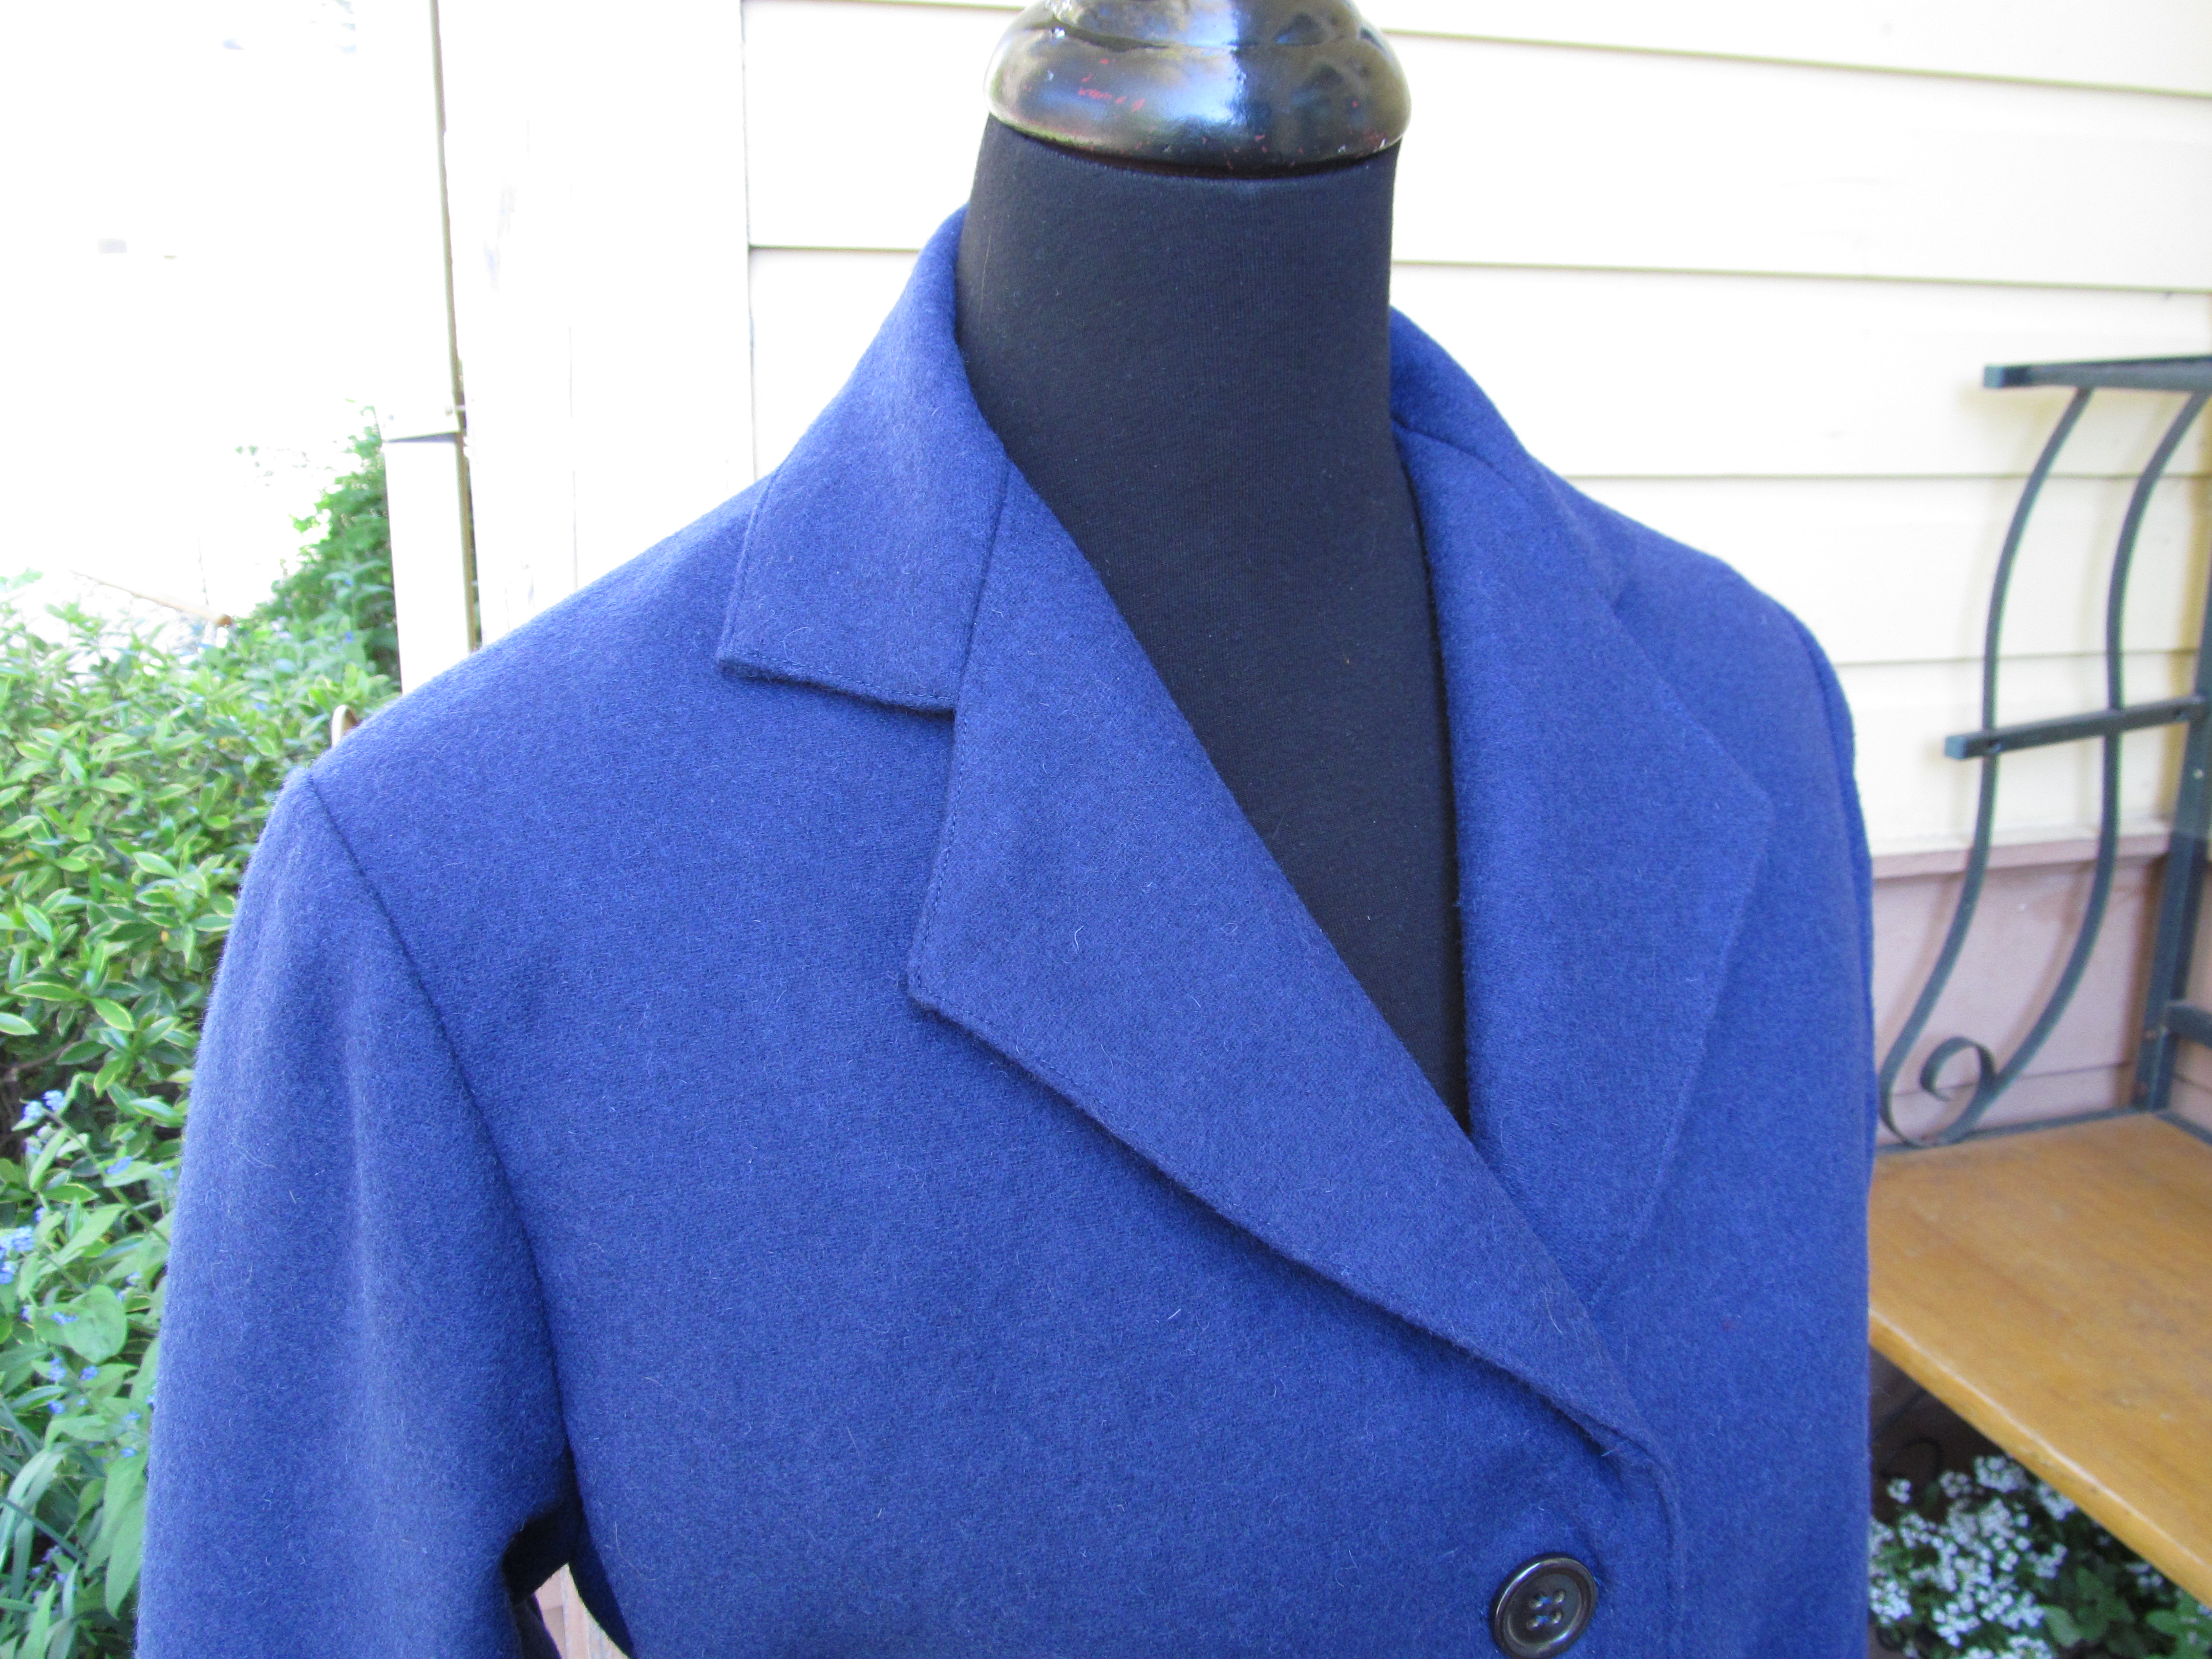
In the weeks and months to come, I plan to create this typical woman more fully, and I will provide her with a fashionable, functional wardrobe for her imaginary life in this fine old house.